-
-
A. Cart Top
-
B. Cart Bottom
-
C. Power Strip and Cable
-
D. (4) Casters
-
E. (4) Bolts. (4) Nuts, (1) Allen Key
-
G. Keyboard Tray
-
H. Tray Tracks
-
I. (4) Bolts, (4) Nuts
-
-
-
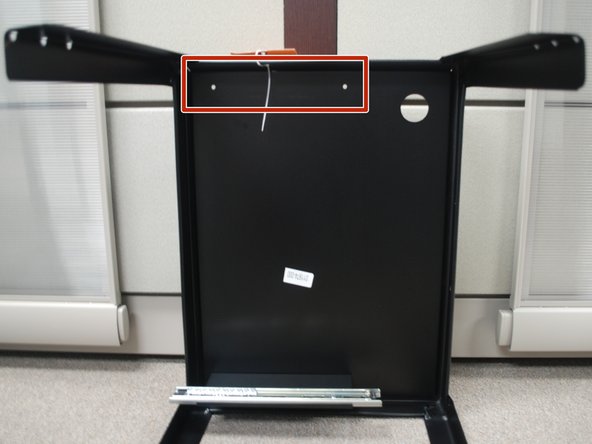
Rotate the Cart Top 90° so it is on it's side.
-
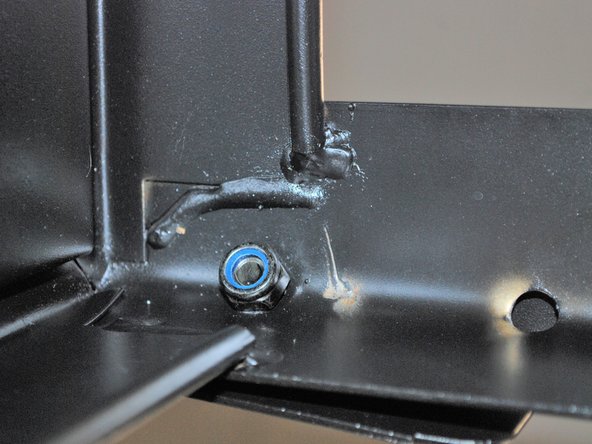
Insert two of the screws from the Keyboard Trey Kit through the two top holes.
-
Hold the Keyboard Track up to the Cart Top while putting the screws through it's holes.
-
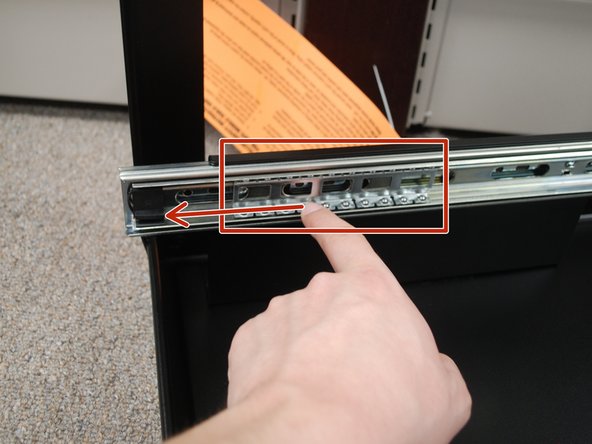
Ensure the gap in the track (shown by the magenta box and arrow) is facing towards the back of the cart (the side without the label).
-
-
-
Screw on nuts from the Keyboard Tray Kit around the screws.
-
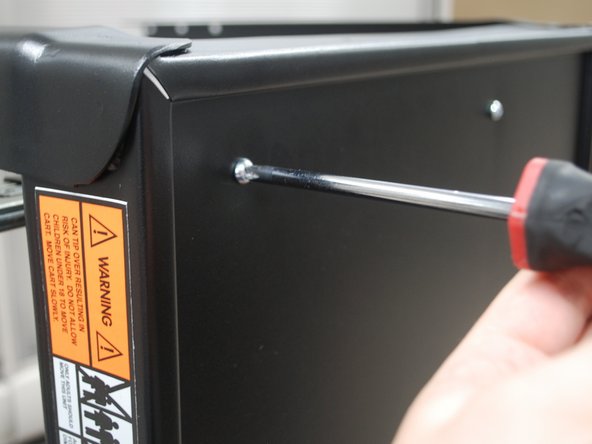
Return to the top of the Cart Top and finish by tightening the bolts with a Phillip's head screwdriver.
-
Repeat steps 2-3 for the other track.
-
-
-
Slide the inner most part of the sliders as far out as you can.
-
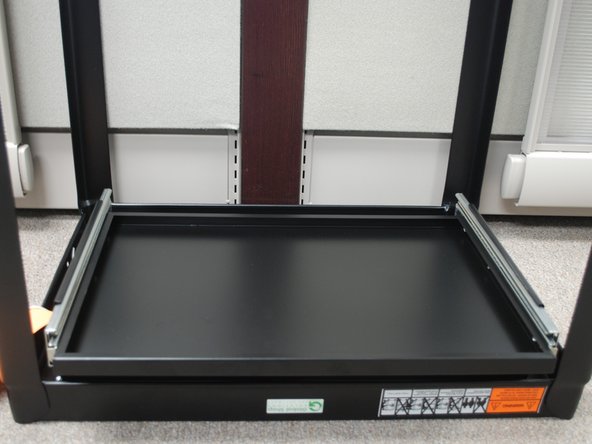
Insert the Keyboard Tray into the sliders and push it as far back as you can until fits into place.
-
-
-
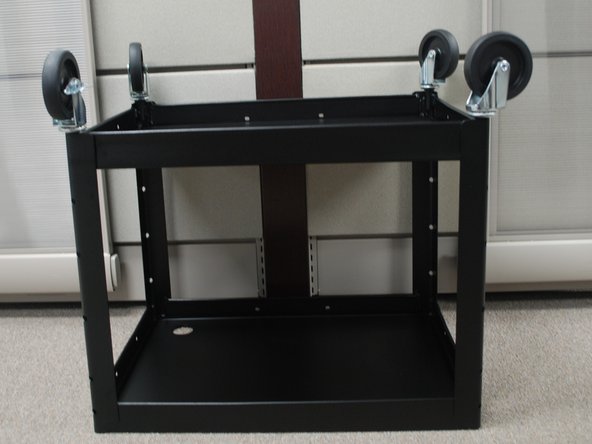
Flip the Cart Bottom face down
-
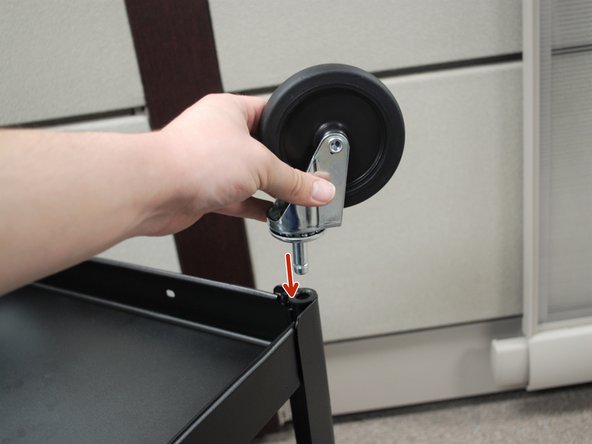
Insert the metal peg into the slot
-
This will require force. It is recommended you use a mallet to get it to go in all the way.
-
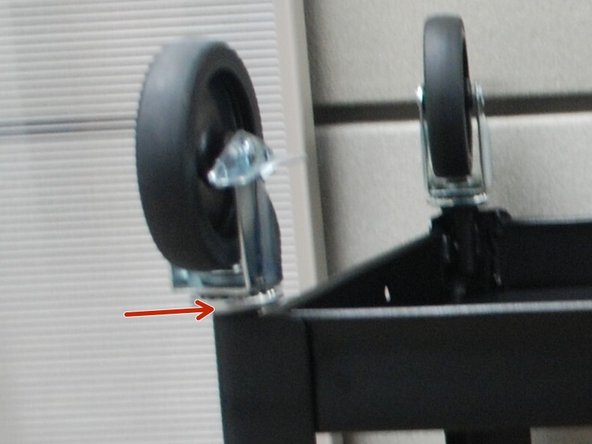
Make sure the casters are flush against the cart.
-
Ensure that the casters with brakes are both put on the front or the back.
-
-
-
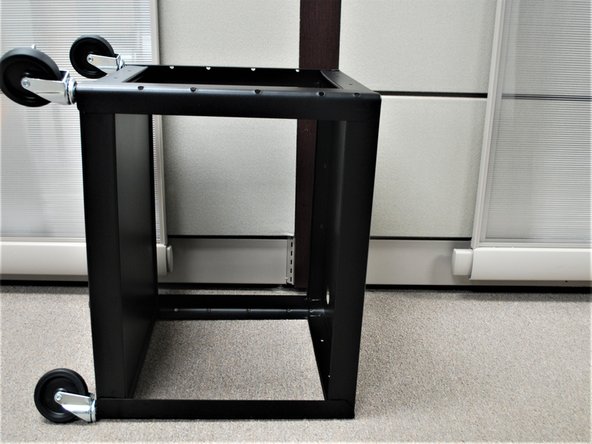
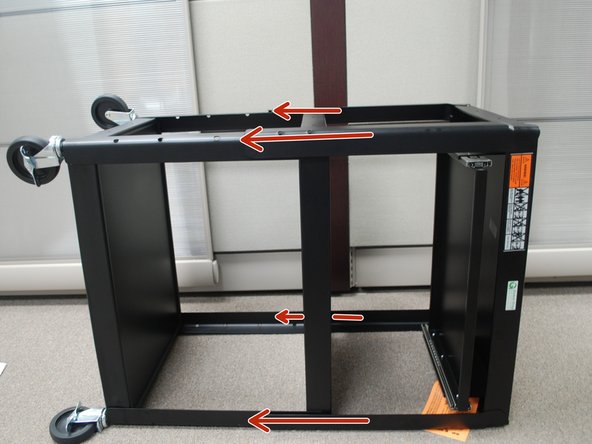
Rotate the Cart Bottom 90° so it is on it's side.
-
Slide the Cart Top over the Cart Bottom.
-
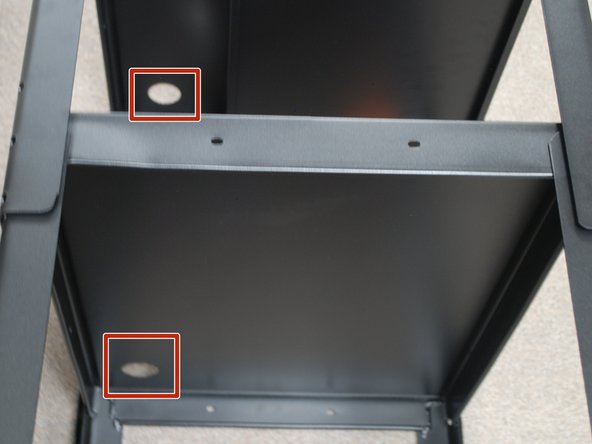
Ensure the two holes on the top and middle shelf align.
-
-
-
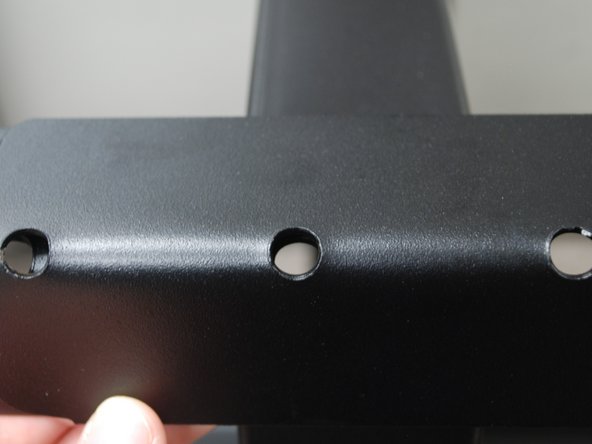
Align the holes appropriately to desired height.
-
The higher your aligned holes are, the taller your cart will be.
-
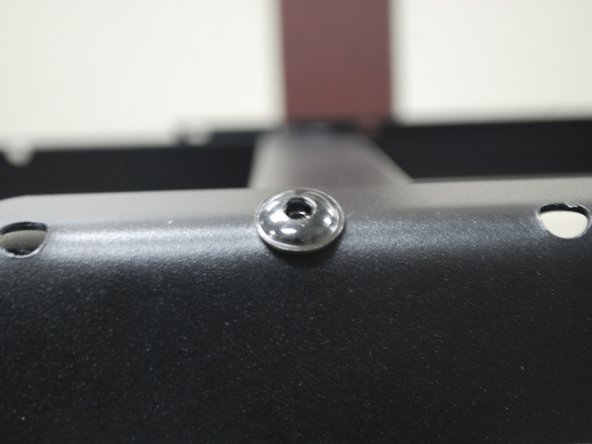
Insert one of the bolts provided with the cart.
-
Attach the nut to the bolt from the inside of the cart.
-
It is recommended you use a wrench to get it to tighten successfully.
-
Repeat this step for each side.
-
-
-
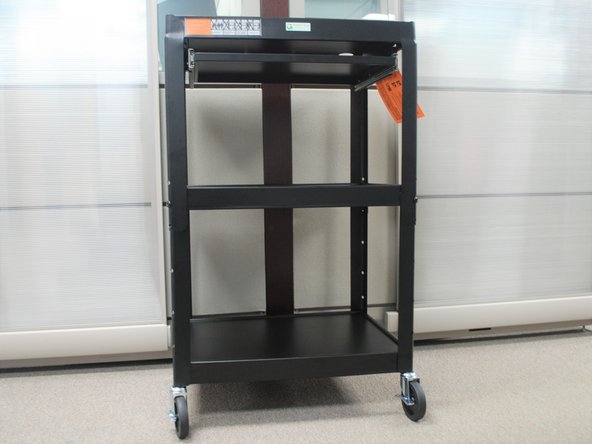
Stand the cart up so it stands on it's casters.
-