Introduction
Everything contained within the GSS-LABEL-PTR-I Industrial Label printer kit.
The printer should have a metallic silver case on it. If it does not, and instead has an all black case, click HERE.
-
-
A. One printer unit
-
B. Four rolls of Direct Transfer labels -OR- 4 rolls of Thermal transfer labels and a roll of ribbon
-
C. One ethernet cable
-
D. One USB cable
-
E. One quick start guide
-
F. One power cable.
-
-
-
Place the printer on a flat, stable surface.
-
Take the plastic film off of the printer, and get the cables out of their packaging.
-
Make sure the power switch is off.
-
Connect the printer to the computer with the provided USB cable. The square USB-B plug goes into the printer, while the regular USB-A plug should go into your computer.
-
Connect an ethernet cable from the printer to your network.
-
Plug the power cord into the AC power cord socket at the rear of the printer, and then plug the power cord into a properly grounded power outlet.
-
-
-
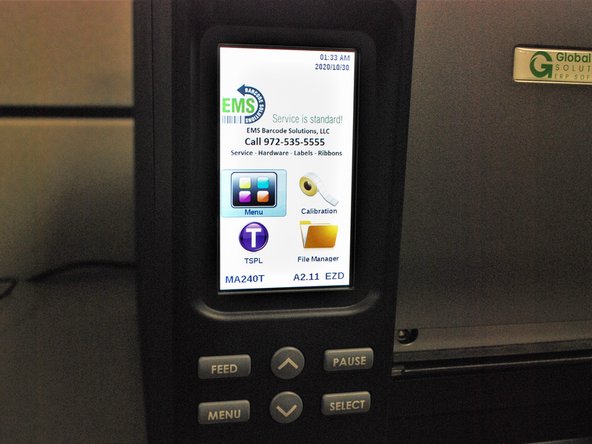
Flip the power switch to make sure the printer turns on. If it does, the screen should light up and display the EMS logo and phone number.
-
Make sure to keep the box and foam inserts. If you need to send the printer back for any reason, you'll need them.
-