-
-
A . One printer unit
-
B. 4 rolls of black mark Direct Thermal labels
-
C. One installation guide
-
D. One extra battery
-
E. One charging cable
-
F. One USB cable
-
G. One belt clip
-
-
-
Remove the printer, cables, belt clip, and install guide from their packaging.
-
Place the extra battery in a safe location where you won't forget it, and can get to it later if you need it.
-
Place the box and packaging somewhere safe. If you every need to send the printer back to us, or move it long distances, this packing will make sure it is protected during shipping.
-
-
-
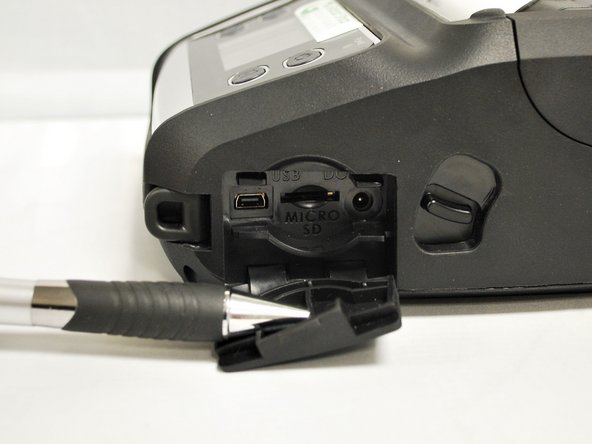
Open the rubber cover on the right side of the printer.
-
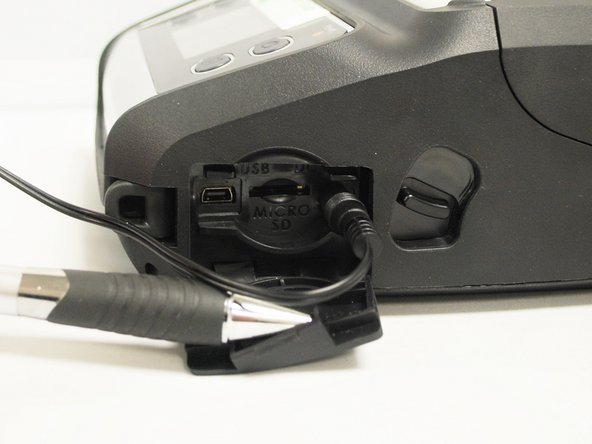
Connect the charging cable to power, and then plug it into the DC port of the right.
-
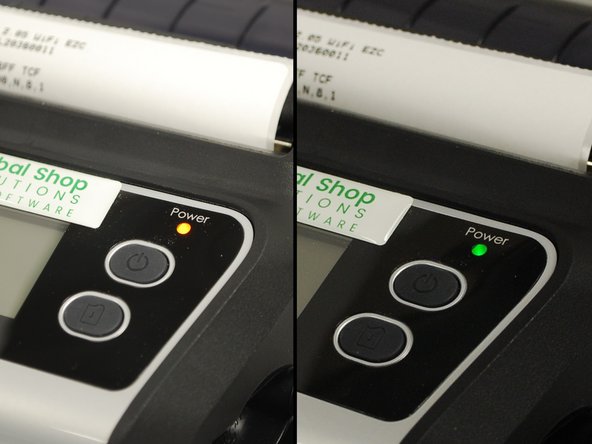
The power indicator LED should show an orange color while charging. Once fully charged, the color will change to green.
-