Introduction
This guide is a compilation of guides: "01 Getting Started," "03 How to Charge the Mobile Computer," "04 Replacing the Battery," and "05 Connecting to Wi-Fi."
-
-
Firstly, make sure everything is in the box and carefully take it out.
-
-
-
A. GS-M1PLUS Mobile Computer
-
B. Hand strap
-
C. Rechargeable Li-ion Battery
-
D. Charging Cradle
-
E. AC Adapter and Cable
-
G. 3 Year Warranty (not shown)
-
-
-
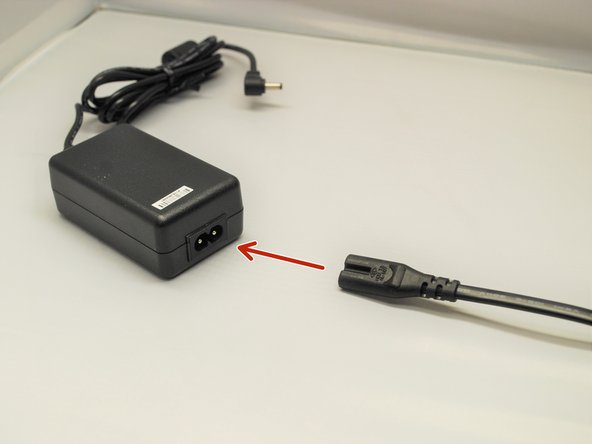
Connect the AC Adapter to the power cable.
-
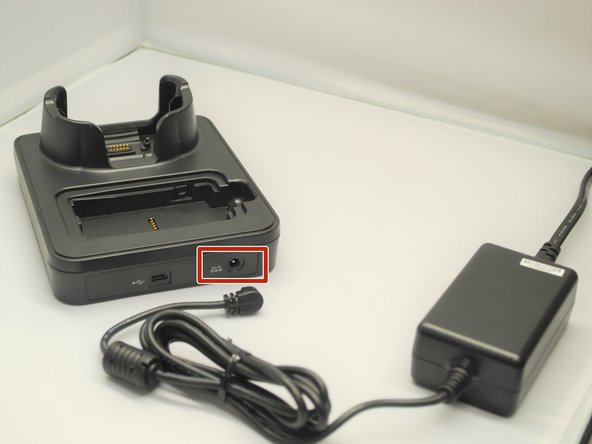
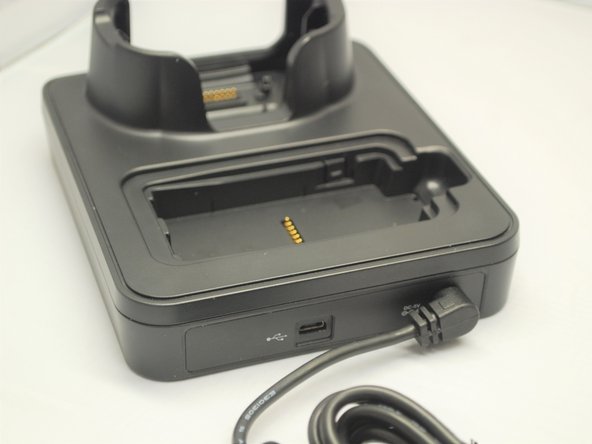
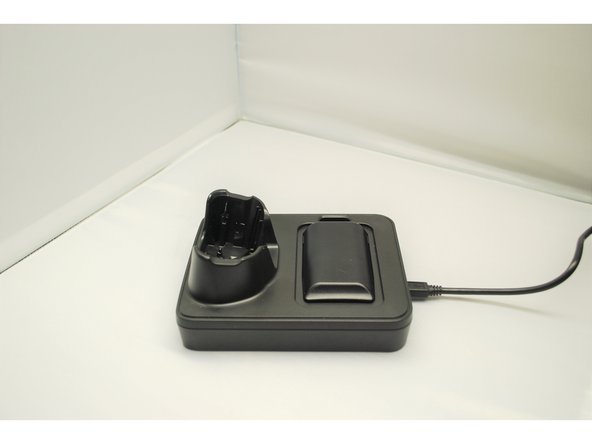
Once connected, plug the end of the other end of the AC Adapter into the cradle as shown.
-
Plug the cable into an appropriate outlet.
-
-
-
This is the beginning of Guide 03, "How to Charge the Mobile Computer"
-
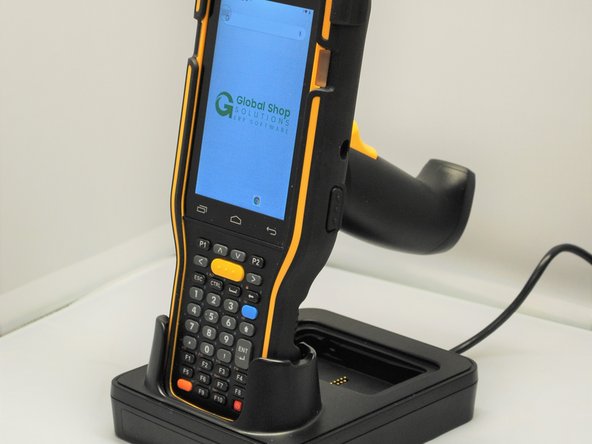
To charge the mobile computer, simply insert the mobile computer into the main charging station and press down.
-
The mobile computer should "buzz" or chime when you do this successfully.
-
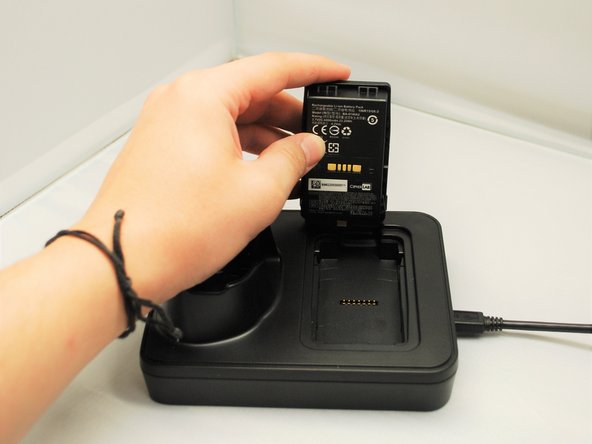
To charge just the battery:
-
Insert the battery from its top side into the spare battery compartment.
-
Press down the bottom side of the battery.
-
A "click" sound is made once the battery is in place.
-
-
-
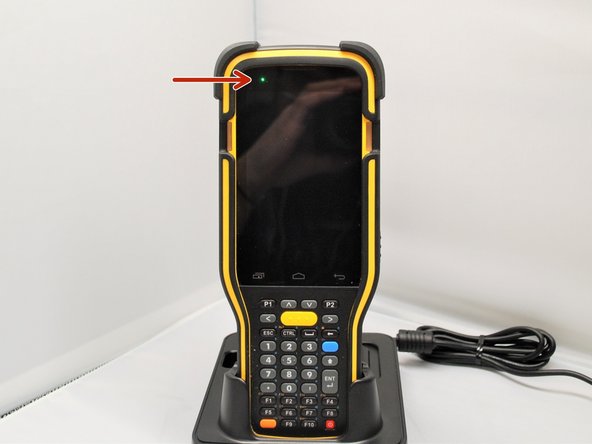
The LED on the M1PLUS Mobile Computer while in the main charging station indicates the status of the Mobile Computer.
-
Red, solid: Charging the main battery in the M1PLUS
-
Red, blink: Charging Error
-
Charging error could be due to high battery temperature.
-
Green, solid: Charging complete
-
No light: Not charging.
-
Not Charging could be the result of battery damage, failure to touch the connector, or AC plug coming off.
-
-
-
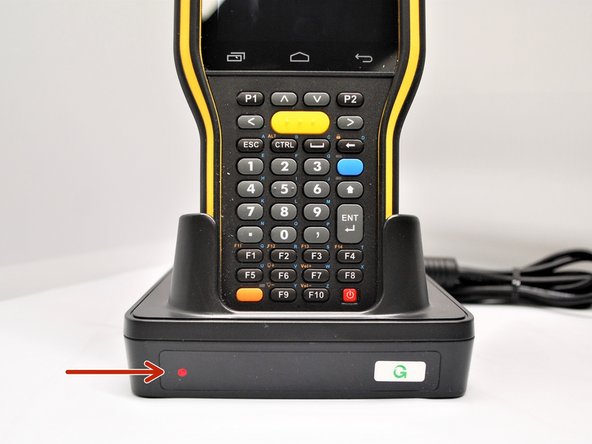
The LED on the Cradle indicates the status of the Spare Battery in the Spare Battery Compartment.
-
Red, solid: Charging the spare battery
-
Red, blink: Charging error
-
Red, flash once: No battery is connected to the spare battery compartment (when the adapter is plugged in)
-
Green, solid: Charging complete
-
-
-
This is the beginning of Guide 04, "Replacing the Battery"
-
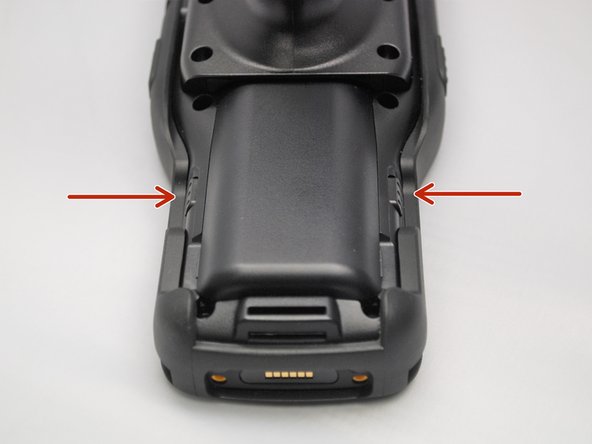
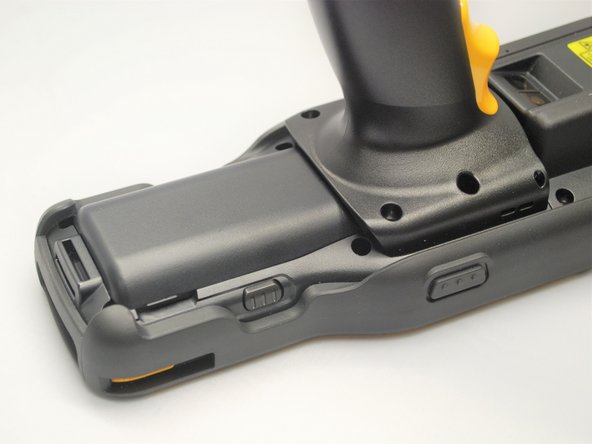
Find the Battery Release Buttons on the left and right of the Mobile Computer.
-
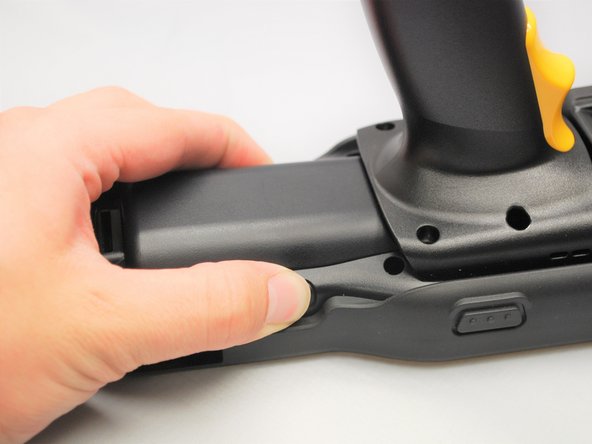
Squeeze the Battery Release Buttons on the left and right of the Mobile Computer to release the battery.
-
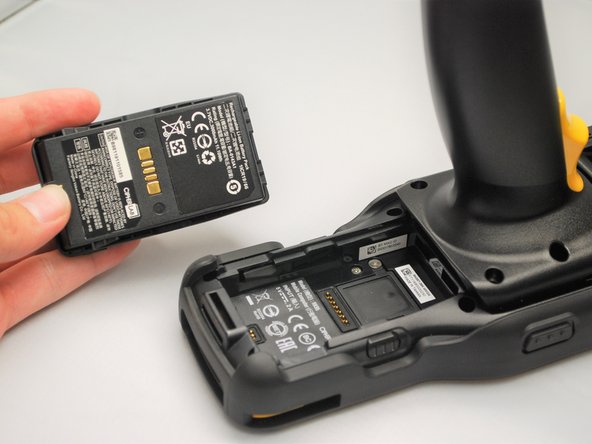
The battery will pop out and can be removed.
-
-
-
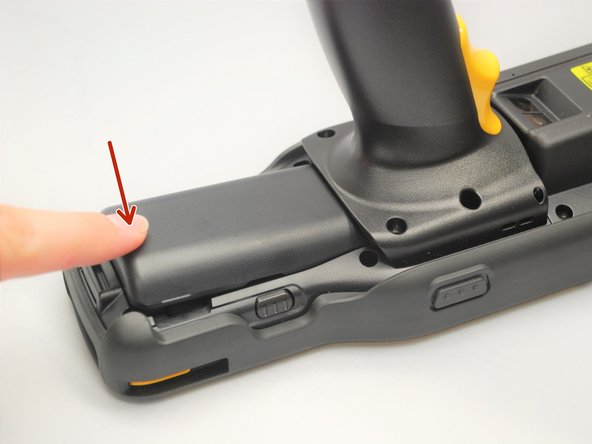
Slide in the battery towards the front of the mobile computer.
-
Once the battery pack has slid in all the way, press down on it to lock it in place.
-
-
-
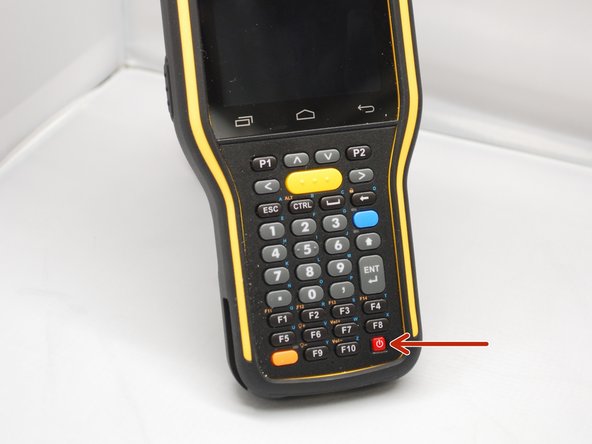
Press and hold the power button then wait until the LED screen displays the image shown in image 2.
-
-
-
This is the beginning of Guide 05, "Connecting to Wi-Fi"
-
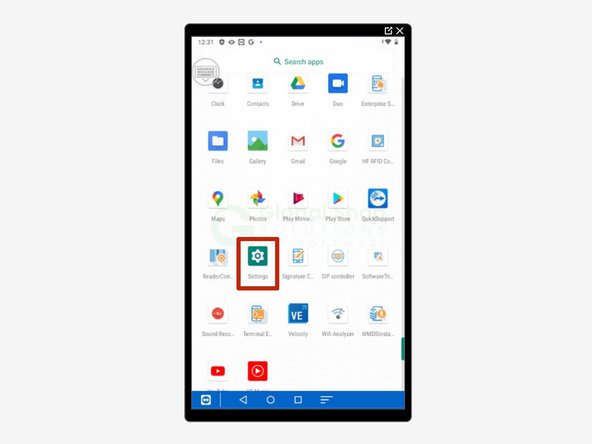
Swipe up to view all your apps.
-
Scroll down to find Settings, the little gear.
-
-
-
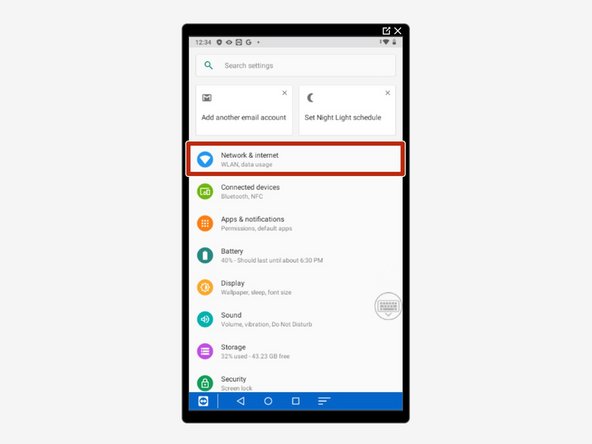
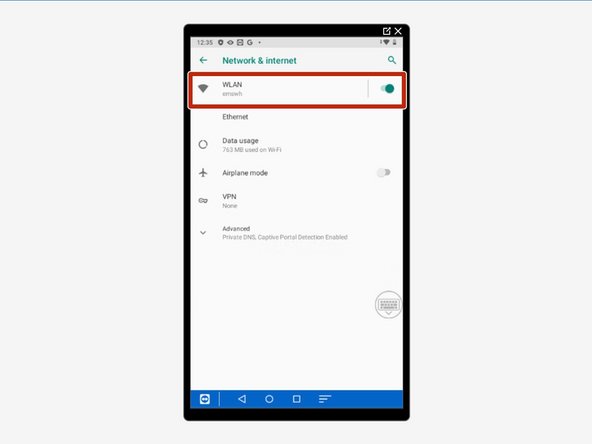
Select Network & Internet.
-
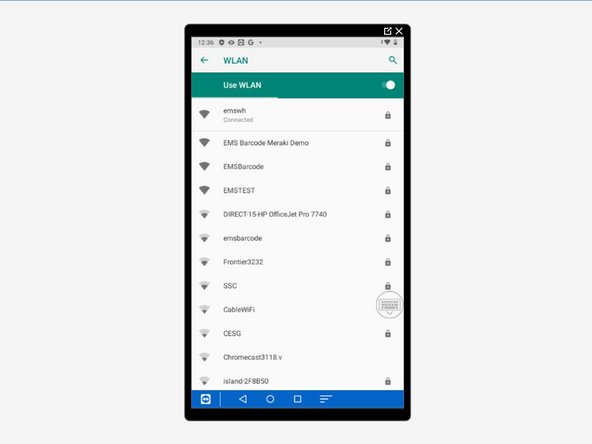
Select WLAN.
-
Scroll down to find and select your network.
-