-
-
Make sure the labels you have are the direct thermal printing type, and that they have a black mark between each label.
-
Check that the labels are direct thermal (DT) by lightly scratching the paper surface of one label. DT labels will show a light grey mark when scratched.
-
You should be able to see the black marks from the outside of the roll as dark grey stripes that run from end to end. You can also see them by looking at one end of the roll.
-
-
-
Open the printer by pressing down on the release latch on the right side of the printer. The lid is spring loaded, and should pop open.
-
Remove the printer info sheet, if present, and make sure the media bay is clear.
-
-
-
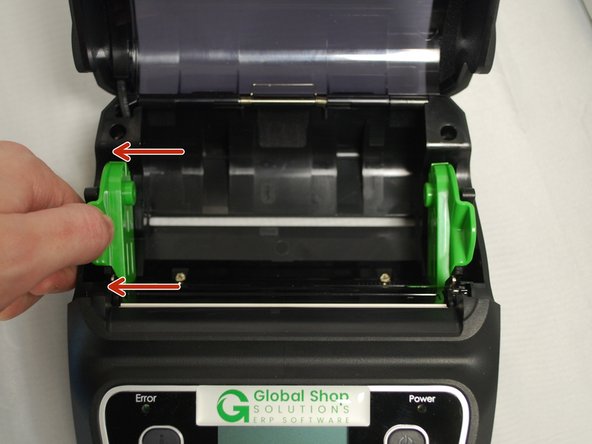
With one hand, pull the media holder open, and with the other hand load the roll of labels.
-
If the holder doesn't pull open easily, don't force it. Check that the locking switches on either side in the unlocked position - see Step 4 for more information.
-
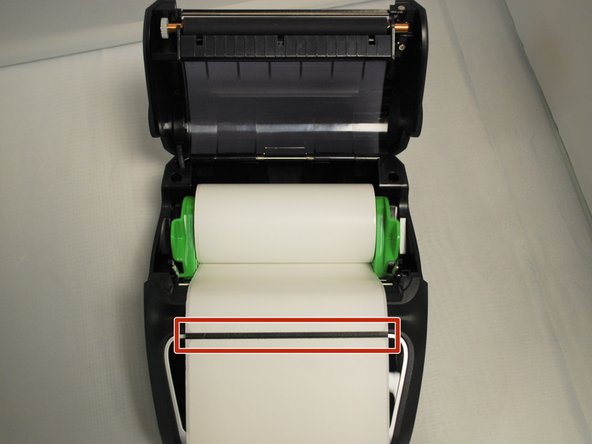
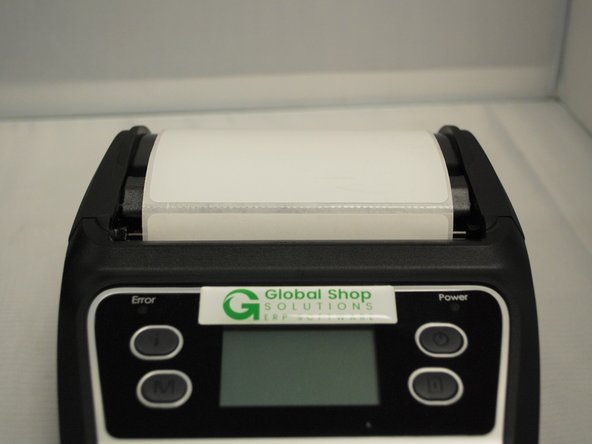
Make sure that the labels are loaded in the correct orientation.
-
Pull the leading edge of the labels down, past the front of the printer. The black mark between labels should face upwards, and the actually labels should be face-down, facing the printhead.
-
-
-
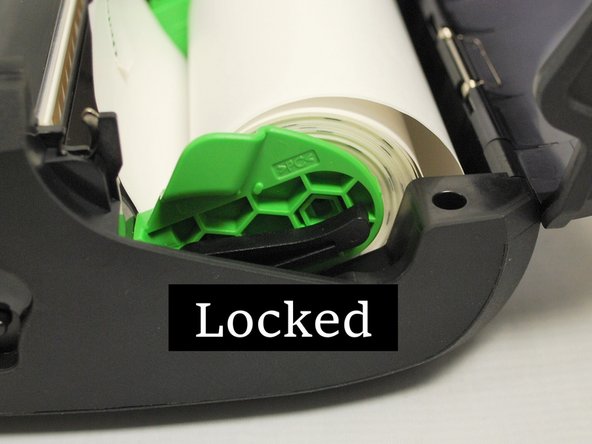
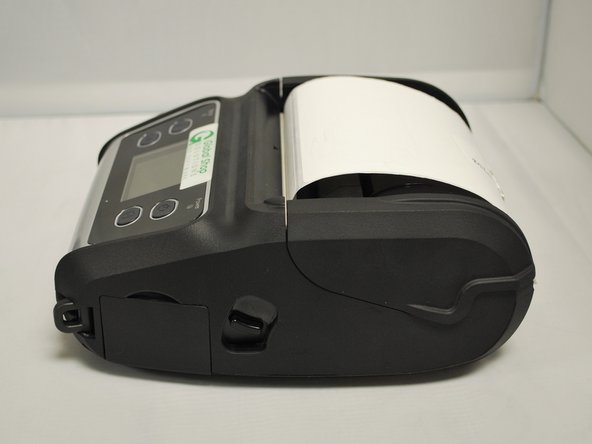
On either side of the media holders, there is a locking switch, to lock the holders into positions once the rolls are loaded.
-
The upper position is unlocked, and allows the holders to be moved.
-
The lower position is locked, and stops the holder from being moved.
-
To lock or unlock the switches, grab the switch apply firm pressure towards the desired position. It should click into place.
-
Now that you have the roll of labels loaded, and have made sure it's in the correct orientation, put the switches in the locked position to ensure the roll stays mounted on the holders.
-
-
-
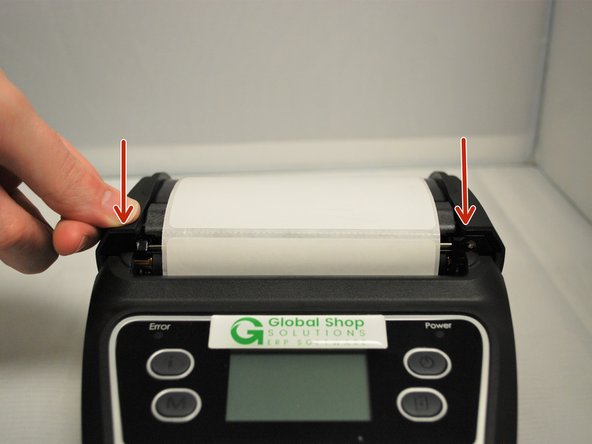
Close the lid, pressing down firmly on both sides to make sure the lid shuts all the way.
-
It should snap into place, and sit flush with the rest of the printer.
-