-
-
A. Support Beam
-
B. Swivel Arm
-
C. Clamp Brace (not needed for this build)
-
D. (2) VESA Plate
-
E. Clamp (not needed for this build)
-
F. Installation Manual
-
G. Grommet Base
-
-
-
A. (2) M8x12 Bolt
-
B. (8) M8 Spacer, Wire Clip
-
C. (8) M4x12 Bolt, (8) M4x30 Bolt
-
D. (4) Wire Clip
-
E. Support Plate
-
F. Wrench, Allen Key Set
-
G. M10 Bolt, M10 Washer, Spring Washer
-
-
-
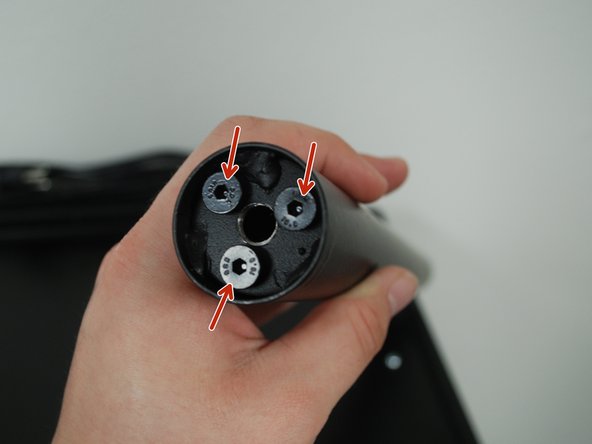
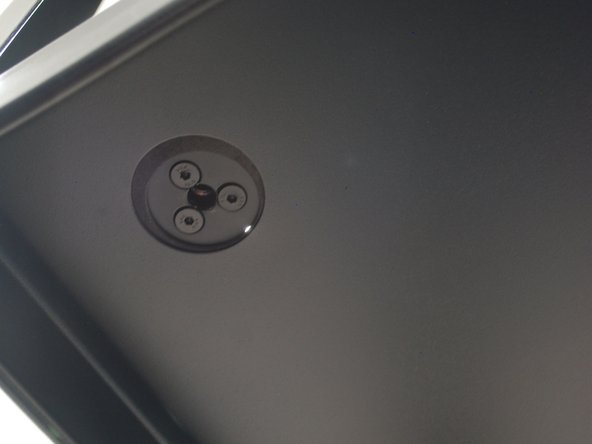
Identify the 3 bolts at the base of the support beam.
-
Remove the 3 bolts using the Allen Key.
-
Place the Grommet Base on the Support Beam and align the holes.
-
Reinsert the bolts through the Grommet Base and into the Support Beam and tighten with the Allen Key.
-
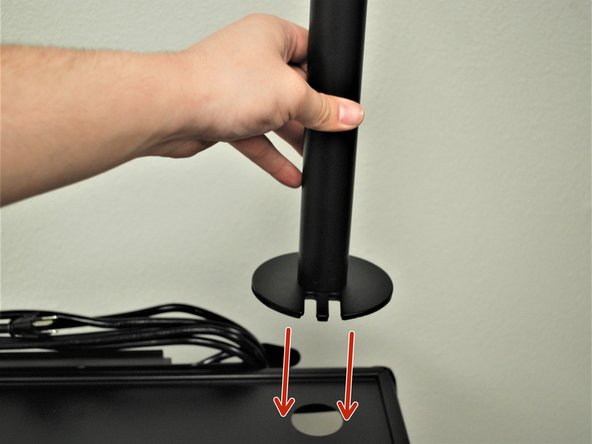
Place the Support Beam on the Grommet Base over the hole on the top platform of the cart.
-
-
-
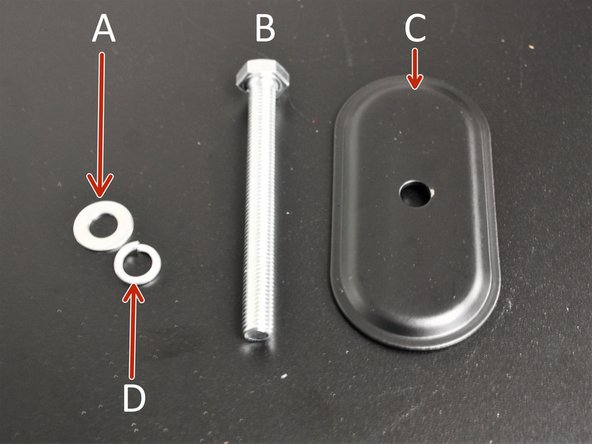
Remove the following from the packaging:
-
A. M10 Washer
-
B. M10 Bolt
-
C. Support Plate
-
D. Spring Washer
-
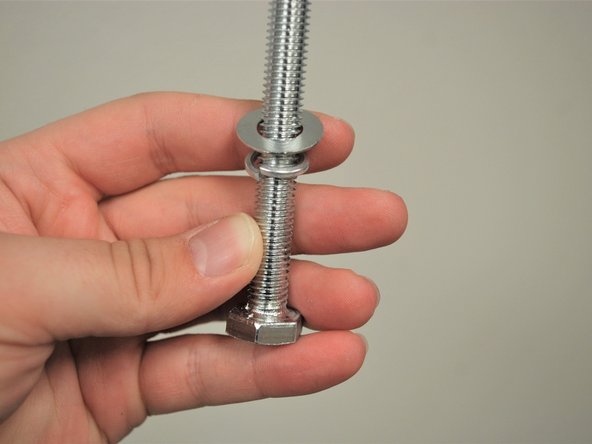
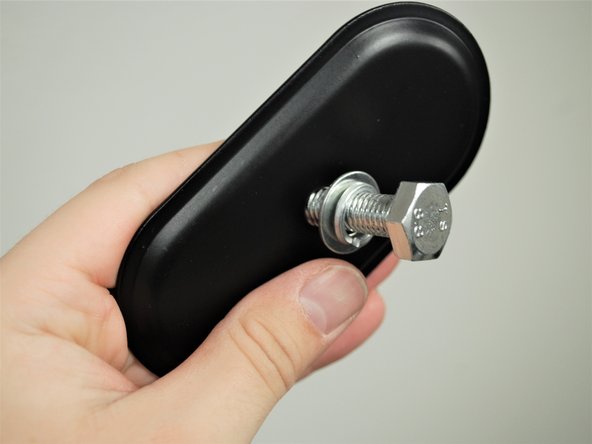
Take the M10 Bolt and slide on the Spring Washer, them the M10 Washer
-
Add the Support Plate to the M10 Bolt facing the way shown in image 3
-
-
-
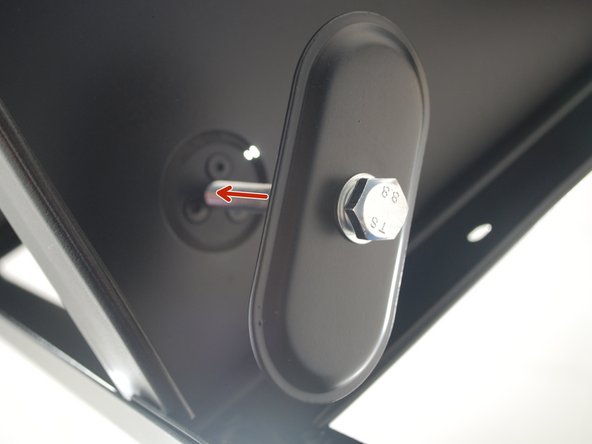
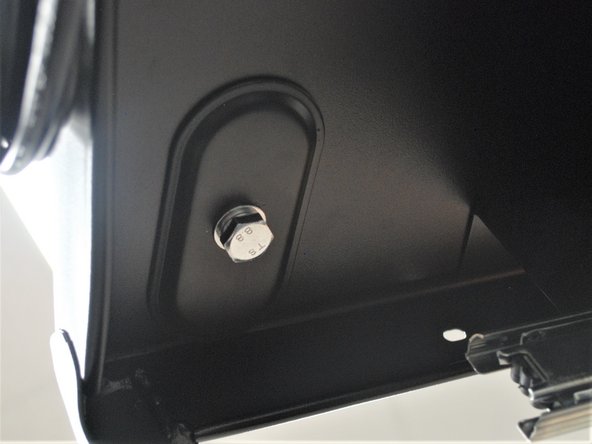
Look below the cart tier to view the bottom of the Support Beam through the hole.
-
Begin to screw in the bolt to the center hole of the support beam using the wrench provided.
-
It helps if you hold the support plate against the shelf while you tighten the bolt.
-
Once the bolt is tightened all the way, it should look like Image 3.
-
-
-
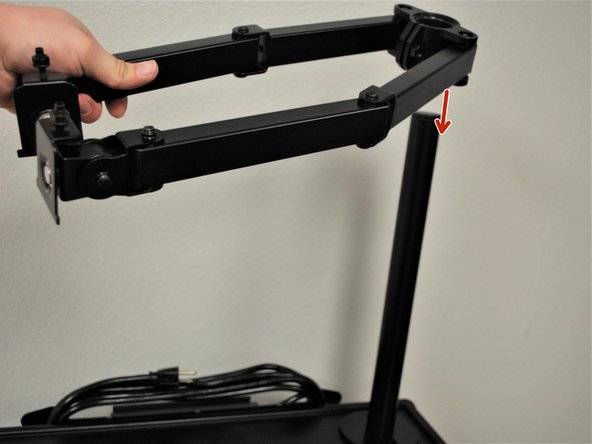
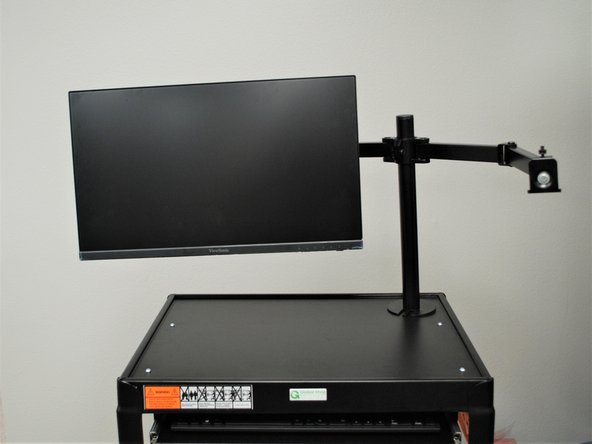
Slide the Swivel Arm over the Support Beam to the desired height.
-
It is recommended you go 2-5 inches down to ensure there is enough room for the monitor.
-
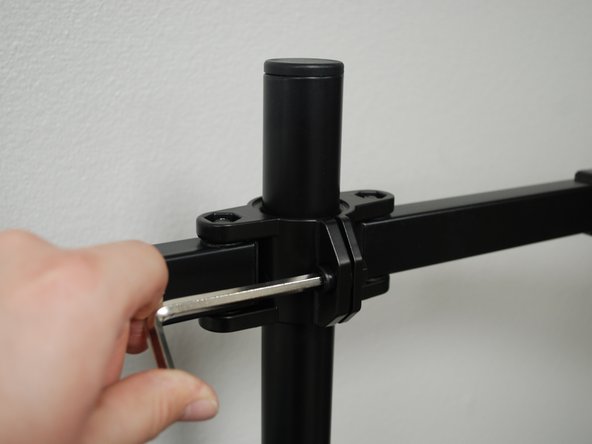
Use an Allen Key to tighten the bolt shown to tighten the grip the Swivel Arm has on the Support Beam.
-
-
-
Remove the provided 24" monitor from the packaging.
-
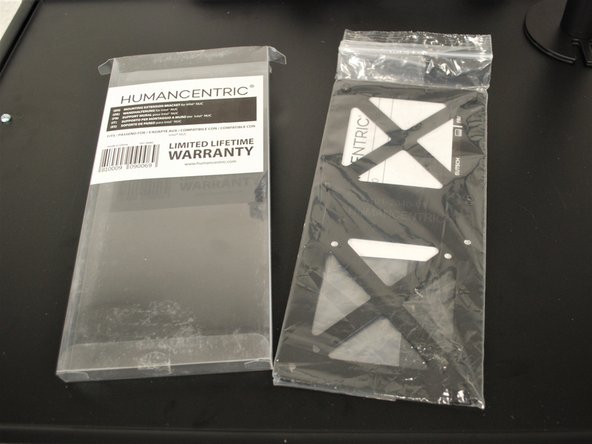
Remove the mounting extension bracket from the packaging.
-
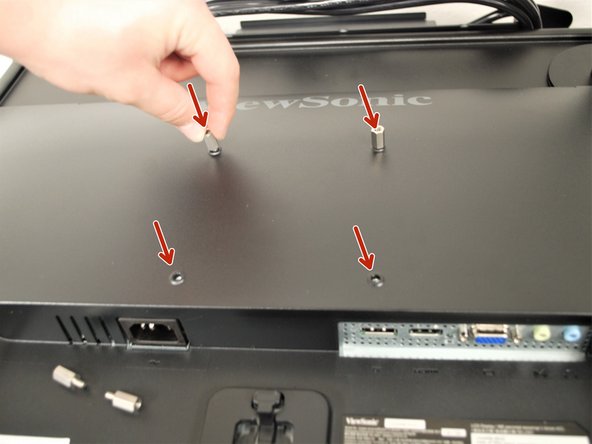
Twist the metal spacers into the 4 holes in the back of the monitor.
-
Set the mounting extension bracket on the metal spacers and align the holes.
-
-
-
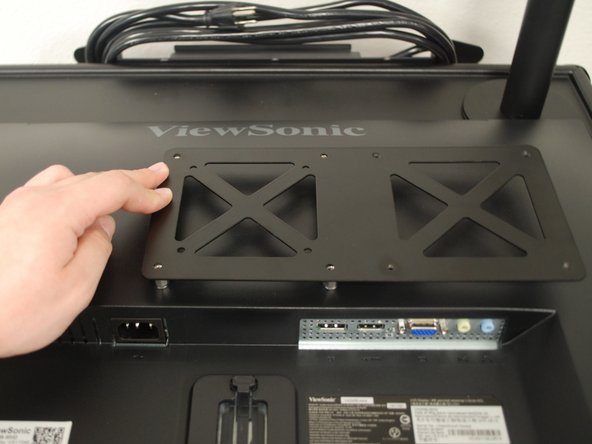
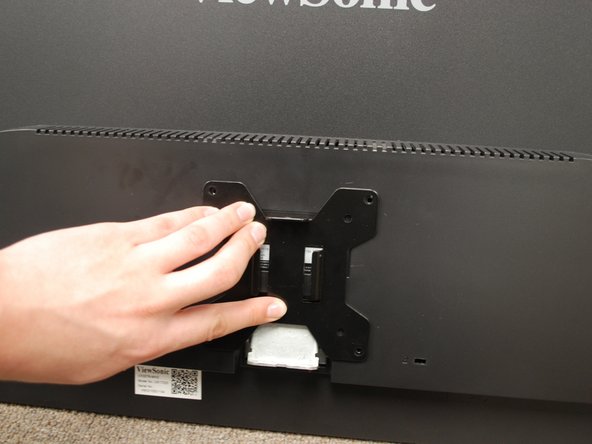
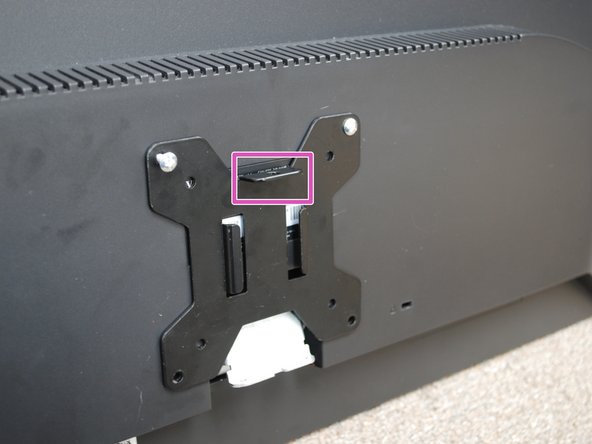
Place the VESA Plate provided over the extension bracket.
-
Ensure the tab with the hole (shown by the magenta box) is facing up.
-
Using a screwdriver, screw in the screws provided with the extension bracket.
-
Do this for all 4 holes into the metal spacers.
-
-
-
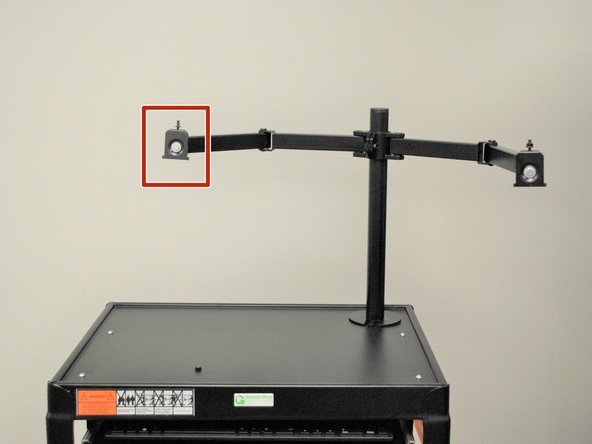
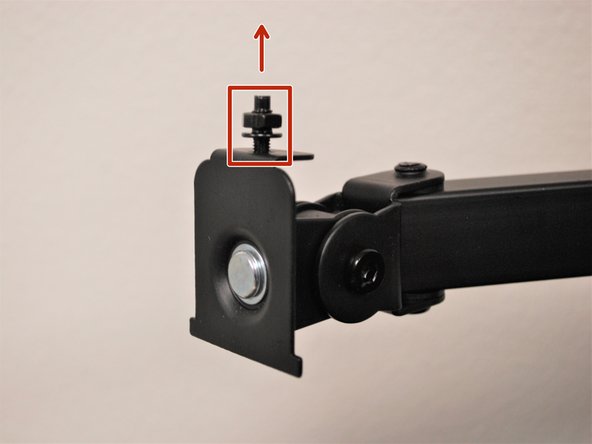
Begin with the left mount.
-
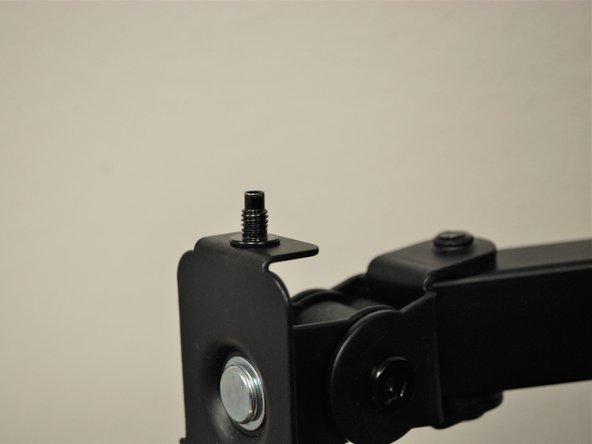
Ensure the bolt with the nut is facing up.
-
Remove the nut from the bolt.
-
Tighten the bolt down into the mount.
-
-
-
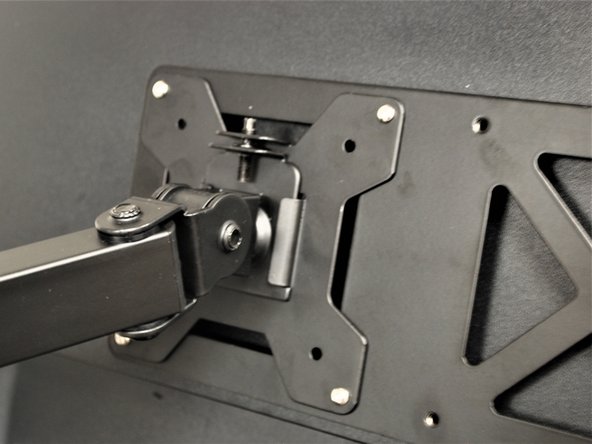
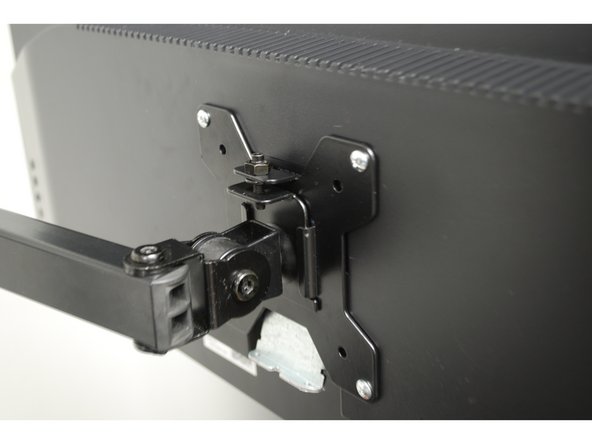
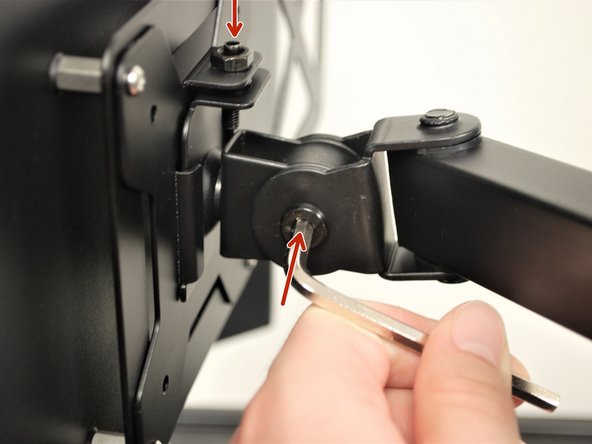
Slide the monitor VESA Plate over the Swivel Arm mount.
-
Reinstall the nut on the bolt to secure the monitor.
-
Tighten the bolt shown to set the monitor in place. This will stop it from falling on it's own.
-
-
-
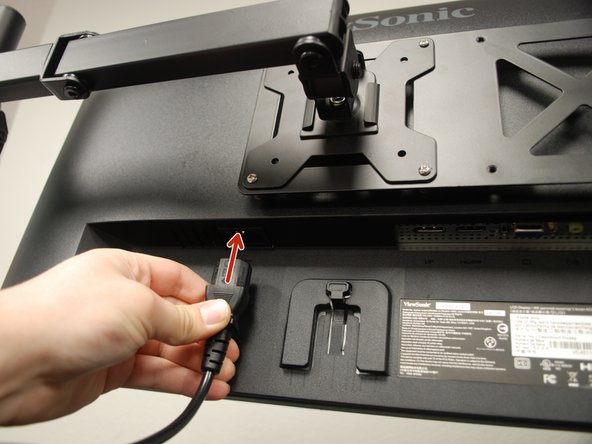
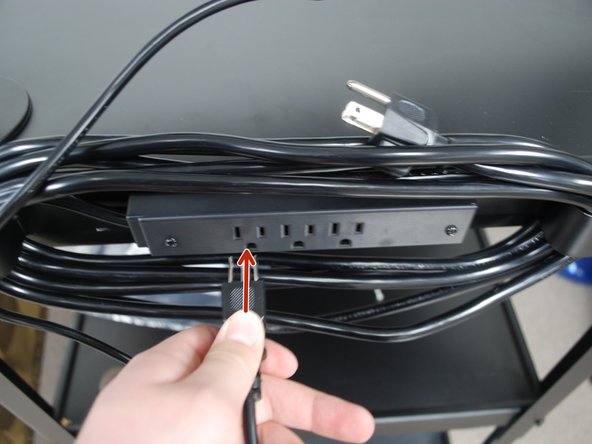
Insert the power cable into the back of the monitor.
-
Plug the other end into the outlet behind the cart.
-
-
-
Remove the provided 32" monitor from the packaging.
-
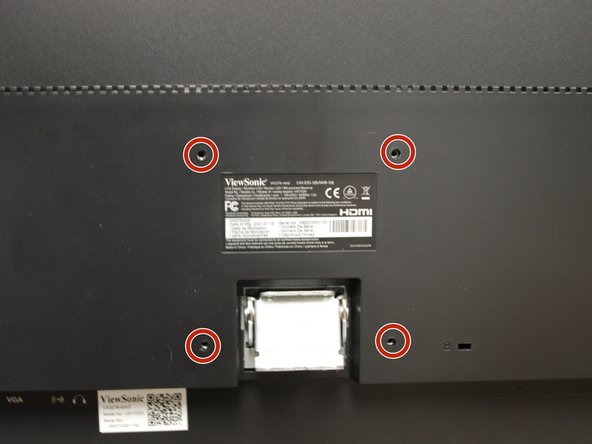
Identify the 4 screw holes on the back of the monitor.
-
Place the VESA Plate provided over the holes.
-
Ensure the tab with the hole (shown by the magenta box) is facing up.
-
Using a screwdriver, screw in the screws provided.
-
Do this for all 4 holes.
-
-
-
Ensure the bolt with the nut is facing up.
-
Remove the nut from the bolt.
-
Tighten the bolt down into the mount.
-
-
-
Slide the monitor VESA Plate over the Swivel Arm mount.
-
Reinstall the nut on the bolt to secure the monitor.
-
Tighten the bolt shown to set the monitor in place. This will stop it from falling on it's own.
-