Introduction
Before starting, ensure that the power is connected to the printer and that the printer is connected to the PC via a USB cable. This will ONLY work if the labels for the printer are already loaded. If they are not, please see the previous guides for the Global Shop industrial label printer.
-
-
Launch the Diagnostic Tool (DiagTool) software.
-
-
The fields should populate, and the "Version" box should read "MA240T ..."
-
If the fields do not populate, make sure the printer is turned on and the USB connection between the printer and the computer is good.
-
-
-
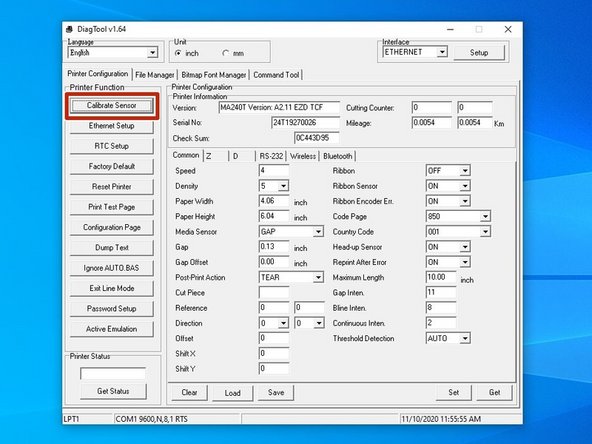
Hit the "Calibrate Sensor" option at the top left of the window.
-
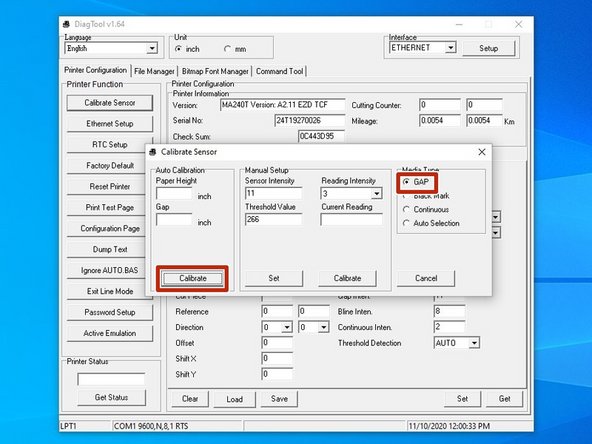
In this new window, select the "GAP" option by clicking it's bubble, and then hit "Calibrate."
-
The printer should now start calibrating - in this process it will print a few blank labels. Please go to Step 6 to make sure the printer has calibrated correctly.
-
-
-
This method requires the printer to have been set up on the network with an IP. This is demonstrated in the guide "5 - Assigning an IP."
-
Make sure the computer and printer are both turned on and connected to the network.
-
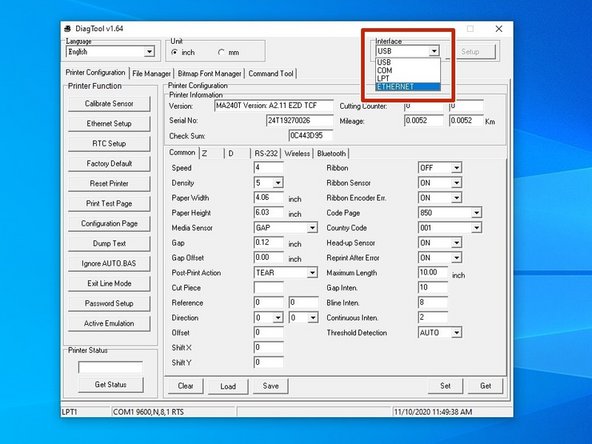
Launch the DiagTool software.
-
Click on "USB" at the top left to open the Interface drop down, and then select "Ethernet".
-
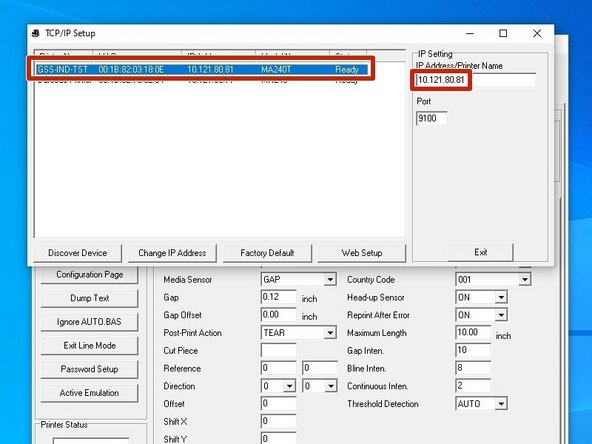
Select the printer with the correct name and IP address (the printer displays it's IP address on it's screen, if you need to check), and then select "Exit".
-
It's important that you select the "Exit" button - this is how you tell the program to load this printer. If you only close the window, it will still have the default printer loaded.
-
-
-
Hit the "Calibrate Sensor" option at the top left of the window.
-
In this new window, select the "GAP" option by clicking it's bubble, and then hit "Calibrate."
-
The printer should now start calibrating - in this process it will print a few blank labels. Please go to Step 6 to make sure the printer has calibrated correctly.
-
-
-
Make sure the printer is connected to power and turned on.
-
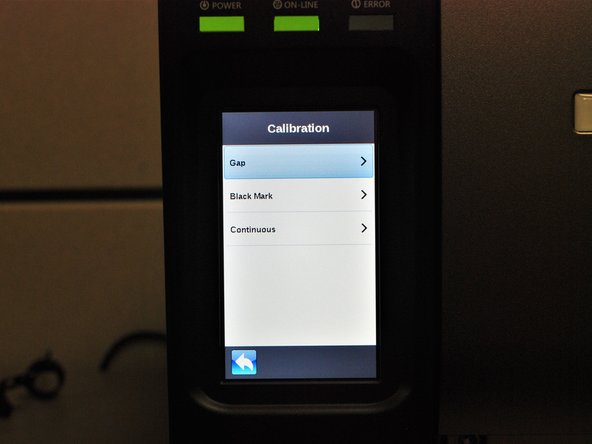
On the screen, press "Calibrate" with your finger, and then select "Gap".
-
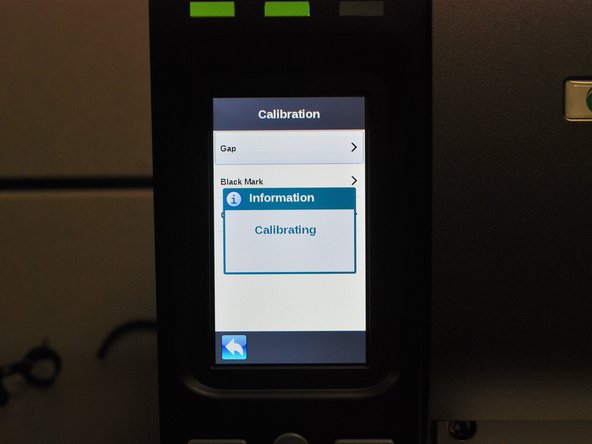
The printer should now start calibrating - in this process it will print a few blank labels. Please go to Step 6 to make sure the printer has calibrated correctly.
-
-
-
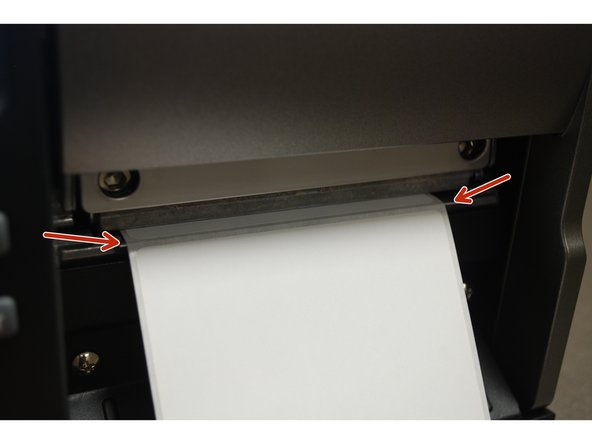
If the Calibration has worked correctly, you can know by checking the following:
-
The edge of the label paper is lined up with the edge of the printer, such that printed labels can easily be torn off.
-
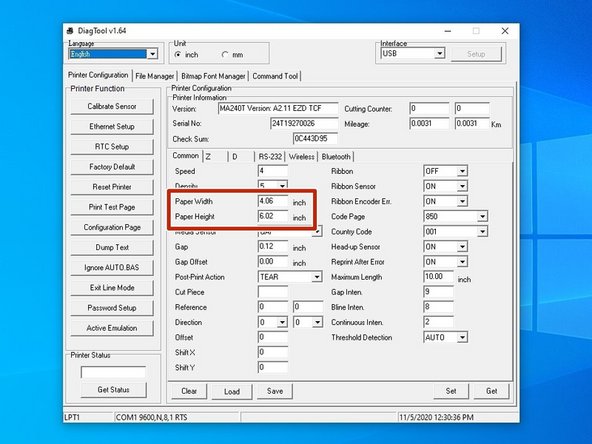
In the Diagnostic Tool software, the correct label size is displayed (within a few thousandths of an inch is fine).
-
For my setup, I'm using 4 inch wide by 6 inch long labels, which is what the software now displays.
-
-
-
If the calibration fails to produce the correct results, you can take the following steps.
-
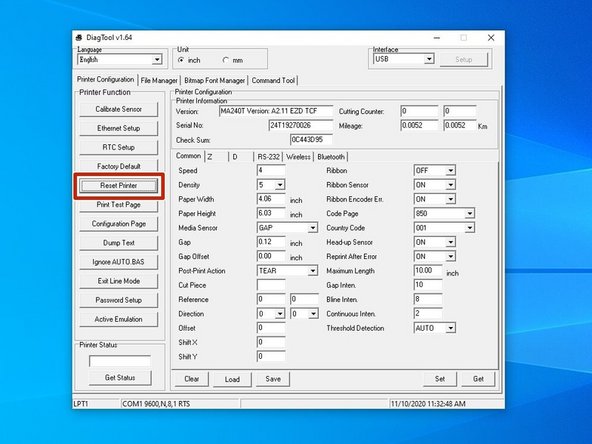
Load the printer in the Diagnostic Tool software.
-
On the left, select "Reset Printer." Once the printer has finished restarting, run the calibration again.
-
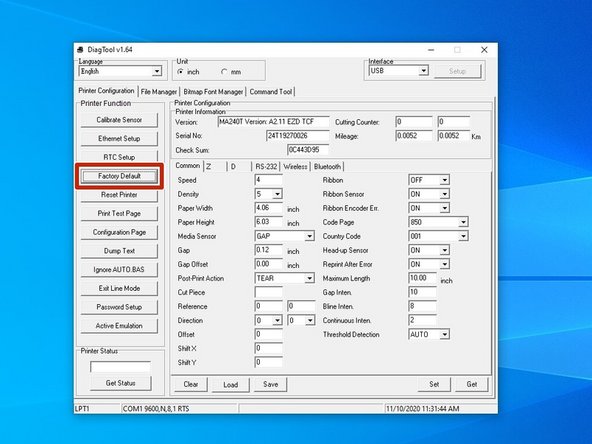
If the calibration still comes back wrong, repeat the above steps, but instead of selecting "Reset Printer," choose "Factory Default."
-