-
-
Direct transfer labels will show a grey mark if you scrape your thumbnail along it, while thermal transfer will not. Make sure the labels you are using are of the Direct Thermal variety.
-
-
-
Make sure the printer is turned off before beginning.
-
Open the printer's top cover by using a finger to pull forward (towards the front of the printer) on each of the green releases latches, located on either side of the printer. Lift the top cover until fully opened.
-
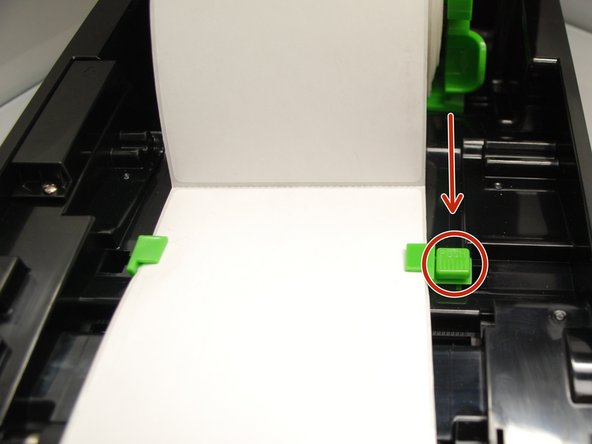
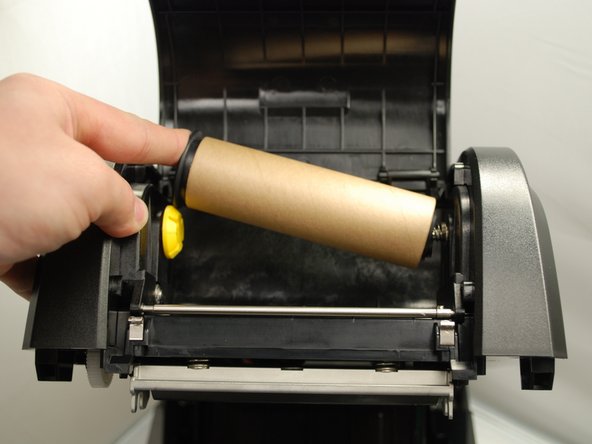
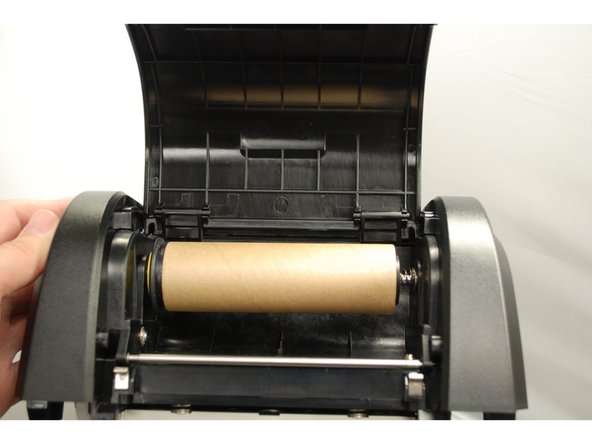
Separate and hold open the green media holders.
-
Place the roll between the holders and close them onto the core, making sure that the sheet unrolls from the top of the roll.
-
-
-
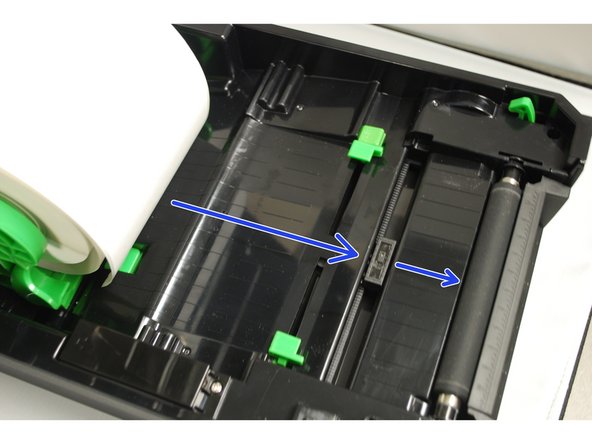
Place the paper, printing side face up, over the media sensor and place the label leading edge onto the platen roller (the rubberized roller near the the front of the printer).
-
Move the media guides (the small green tabs) to fit the label width by pushing the media guide adjustment button.
-
-
-
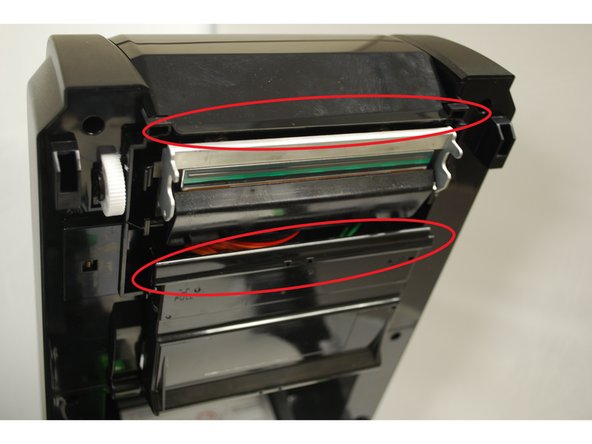
Gently lift the top cover until fully opened.
-
Using medium pressure, pull the top and bottom access covers open.
-
-
-
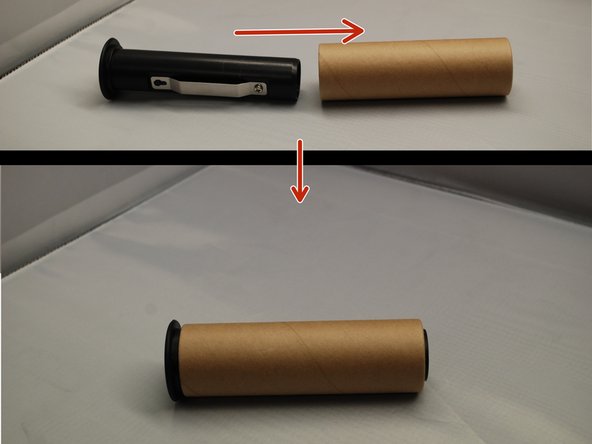
Insert the rewind spindle into the paper core (this may already be done).
-
The rewind spindle goes on the TOP spindle hub.
-
Orient the spindle such that the end with a rim is pointed to the left.
-
Place the spindle onto the spring on the right side of the opening, and then align the yellow notches on the other end of the spindle with the grooves on the hub on the left.
-
-
-
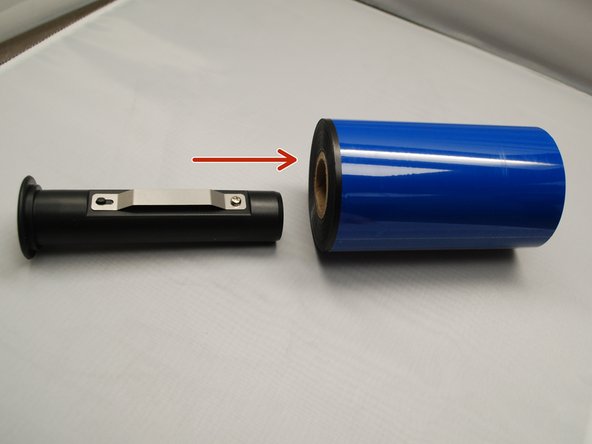
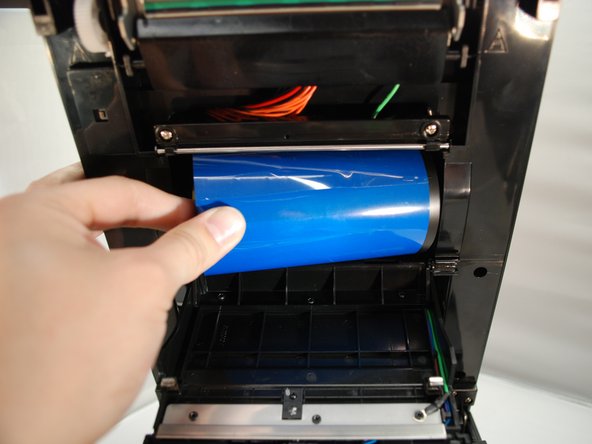
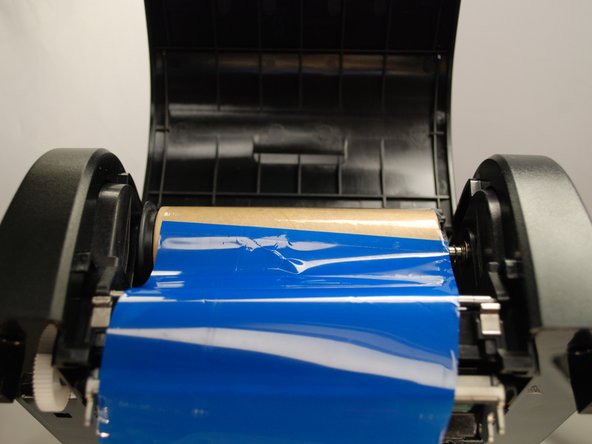
Insert the ribbon spindle into the ribbon core.
-
The ribbon spindle should be installed in the BOTTOM spindle hub.
-
The ribbon should unspool from beneath the spindle, not from above.
-
-
-
Stick ribbon onto the ribbon rewind paper core.
-
Turn the ribbon rewind gear until the ribbon plastic leader is thoroughly wound.
-
-
-
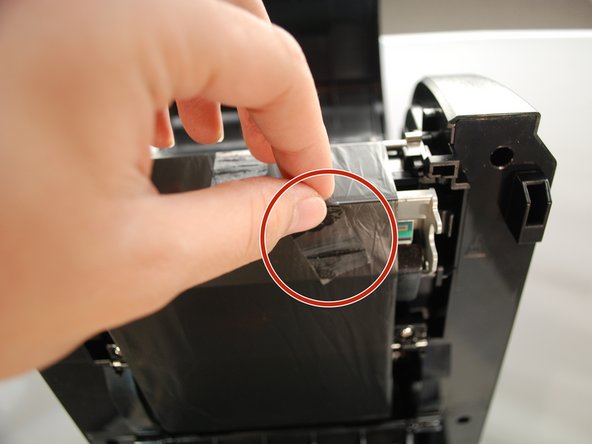
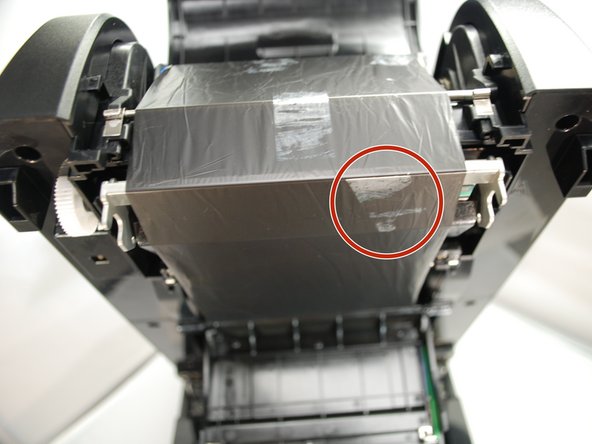
Get a piece of regular Scotch tape.
-
Put the piece of Scotch tape on the ribbon.
-
Remove the piece of Scotch tape. If there is ink on the tape and ink came off the ribbon, the ribbon is facing the correct direction. If there is no ink, repeat Steps 3 and 4 with the ribbon facing the correct direction.
-