-
-
A. Mini PC
-
B. Mounting Plate
-
C. Power Cable with AC Adapter
-
D. HDMI Cable
-
E. Screw Bag
-
-
-
A: Two USB 3.0 "SuperSpeed" ports.
-
B: Two USB 2.0 ports.
-
C: Auxiliary cable port for headphones, earbuds, or speakers.
-
D: Indicator LEDs. The left LED is the bot indicator, and the one on the right is the hardrive indicator.
-
E: Power button.
-
-
-
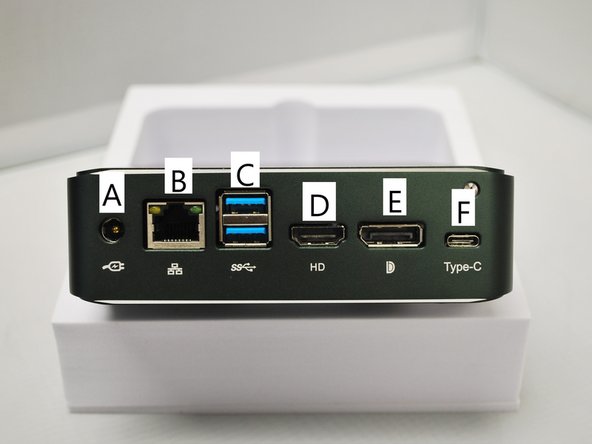
A: A/C power port.
-
B: Ethernet port.
-
C: Two USB 3.0 "SuperSpeed" ports.
-
D: HDMI port.
-
E: DisplayPort port.
-
F: USB type C port.
-
-
-
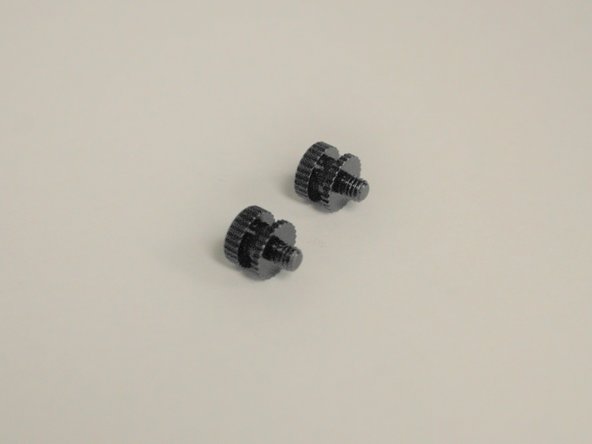
Find and pull out these two screws from the bag.
-
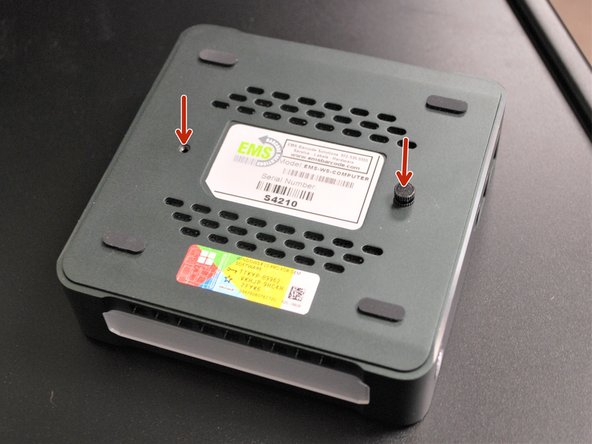
Attach the screws onto the back of the mini PC.
-
-
-
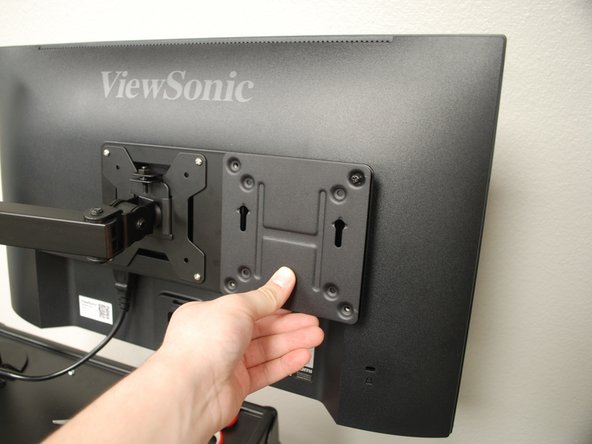
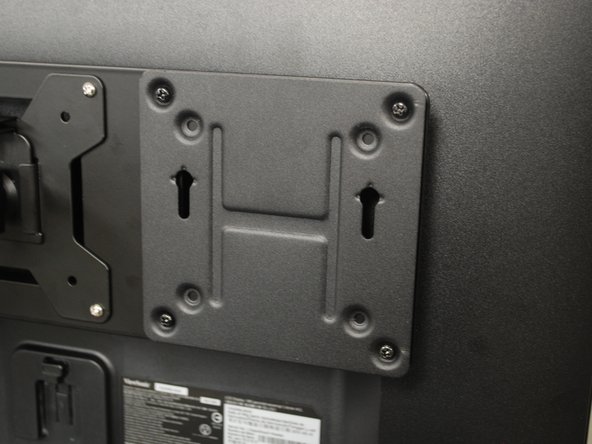
Press the Mounting Plate against the mounting extension bracket.
-
Make sure the plate is facing the same way as it is shown in the Image.
-
Screw the Mounting Plate to the mounting extension bracket.
-
-
-
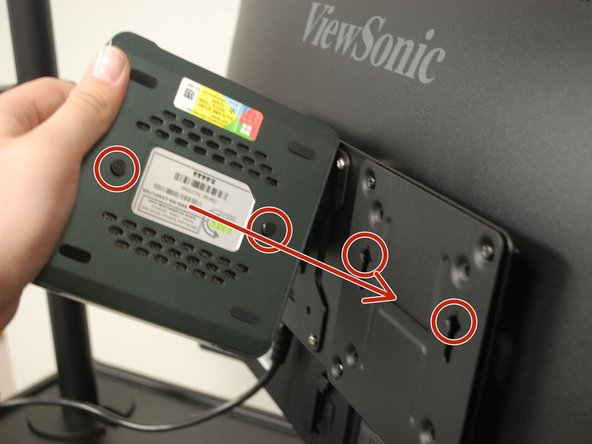
Insert the metal pegs on the bottom of the PC into the holes of the mount plate.
-
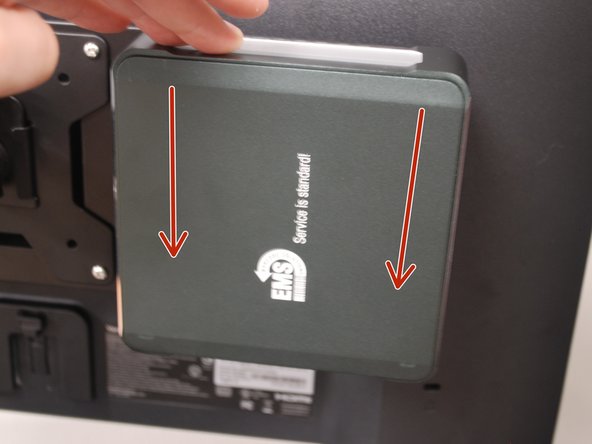
Push the PC down into place. It should flit snugly and securely.
-
-
-
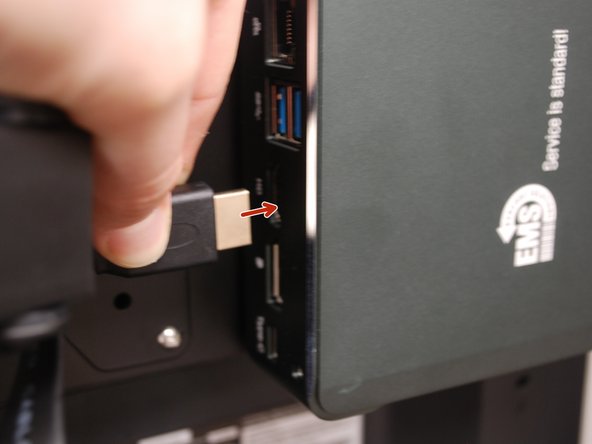
Plug one end of the HDMI cable into the Mini PC
-
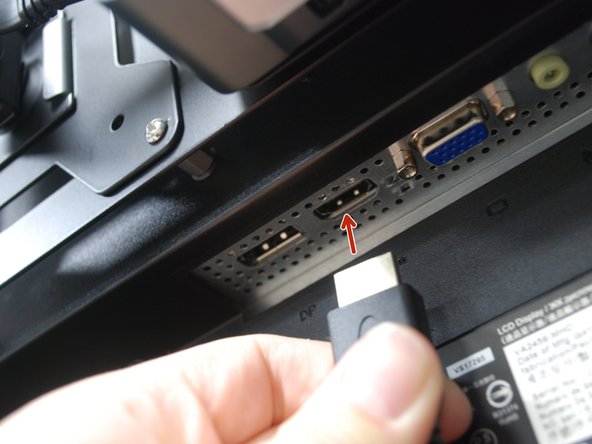
Plug the other end of the HDMI cable into the monitor.
-
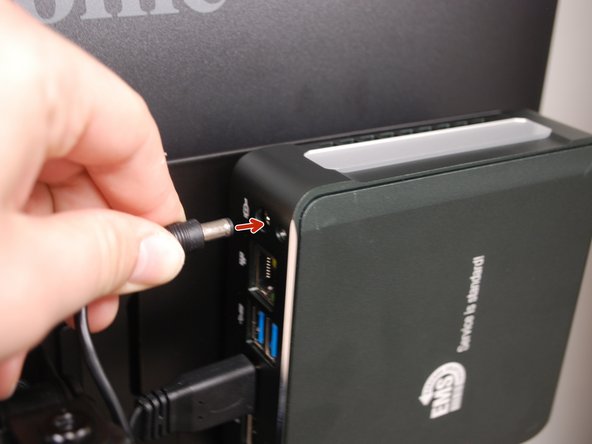
Plug the power cable into the Mini PC then into an outlet.
-
Almost done!
Finish Line


