-
-
Place the printer on a flat, stable surface.
-
Take the plastic film off of the printer, and get the cables out of their packaging.
-
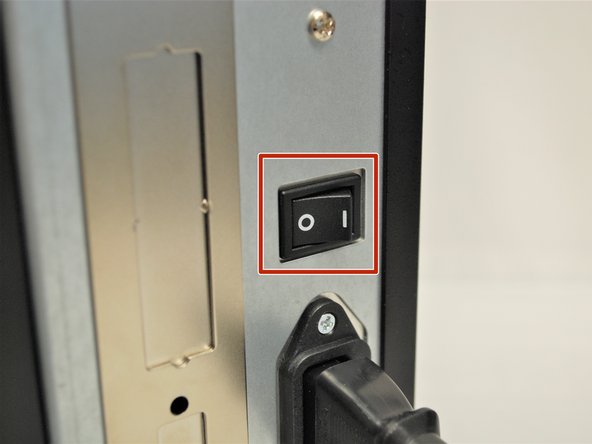
Make sure the power switch is off.
-
-
-
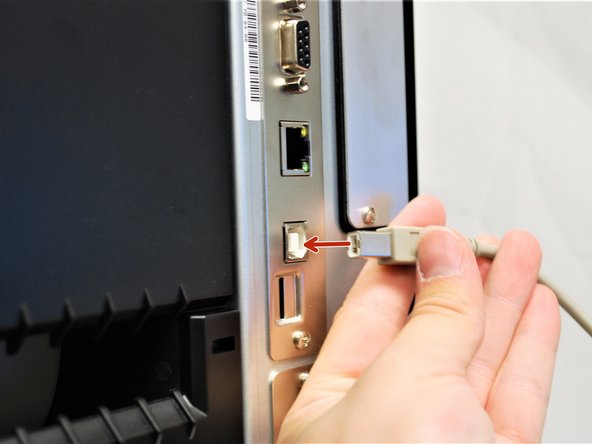
USB-B
-
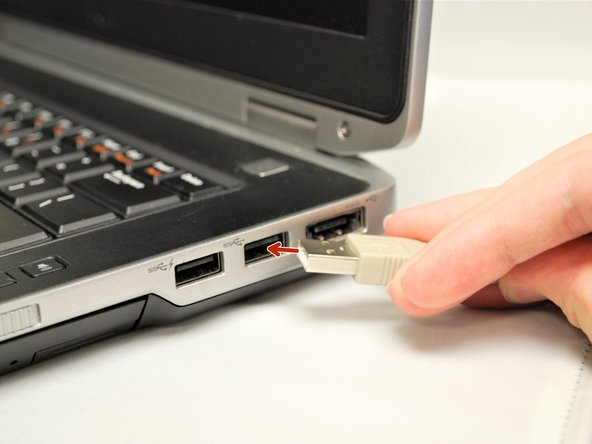
USB-A
-
The USB-B and USB-A are two ends of the same cable. The USB-B to USB-A cable is only used for initial set-up and support. It should NOT be used for other purposes.
-
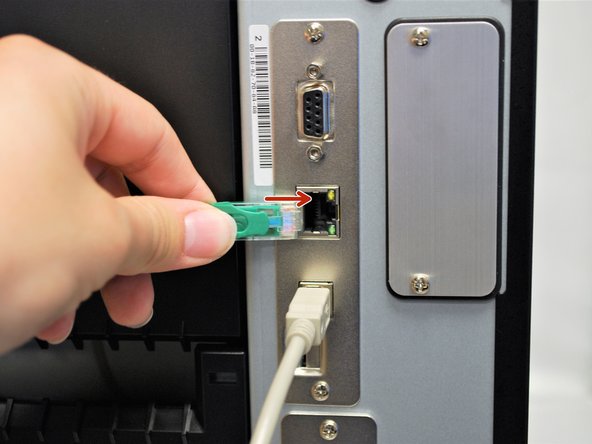
Ethernet
-
This cable is double ended with an ethernet jack on both sides. This is used for wired network connection, a network type which connects devices to the Internet or other networks using cables.
-
Power Outlet Plug
-
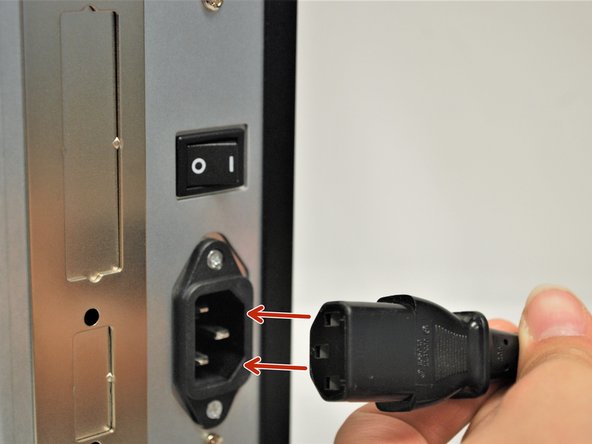
Printer Power Plug
-
The Power Outlet Plug and the Printer Power Plug are two ends of the same cable.
-
-
-
Plug the USB-B into the printer's USB interface on the back.
-
Plug the USB-A into your computer/laptop's USB port.
-
To correctly identify the USB-B from the USB-A, please refer to the last step.
-
Connect one end of the ethernet cable to your printer's ethernet interface on the back.
-
Connect the other end of the ethernet to your network.
-
-
-
Connect the Printer Power Cord into the back of the printer in the power cord socket.
-
Make sure the printer is OFF before continuing and plugging it into the wall.
-
Once the Printer Power Cord is connected and the printer is off, connect the Power Outlet Cord into a power outlet.
-
DO NOT turn the printer on without the labels being loaded first. See how to load Direct Thermal labels HERE and Thermal Transfer with Ribbon HERE.
-