Introduction
The settings of you Global Shop industrial printer can be configured to change how your printer prints.
-
-
Launch the Diagnostic Tool (DiagTool) software.
-
Select the correct interface from the drop down menu at the top left . (See Step 2 "Interface Help" if you're not sure how.)
-
Select the tab for the "Z" menu, in the middle of the window, towards the top.
-
Select the "Get" button at the bottom right to populate the screen.
-
Change the settings as desired, and then hit the "Set" button at the bottom right to confirm your changes.
-
-
-
This step is to help choose the correct interface option in DiagTool. If you know how to do this, or are not using DiagTool, this step is not necessary.
-
If your printer is connected directly to your computer by a USB cable, make sure the USB option is selected and go back to Step 1.
-
If your printer is connected to your computer by the network, select the "Ethernet" option, and then the "Setup" button.
-
In the new window, select the printer with the correct name and IP address (the printer should display its IP address on its screen, if you need to check), and then select "Exit." You can now go back to Step 1.
-
-
-
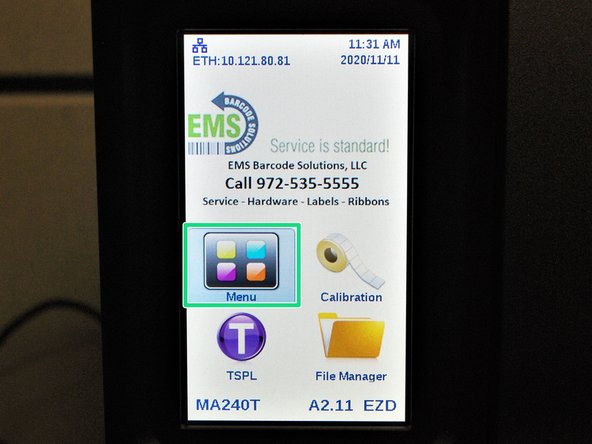
From the home screen, select the "Menu" button on the touch screen.
-
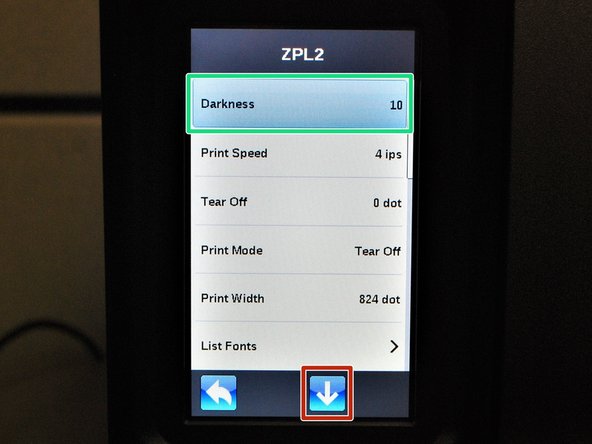
Choose the "ZPL2" option.
-
From this menu, you can scroll up and down through the options with the arrows at the bottom of the screen, and then selecting a setting to adjust.
-
-
-
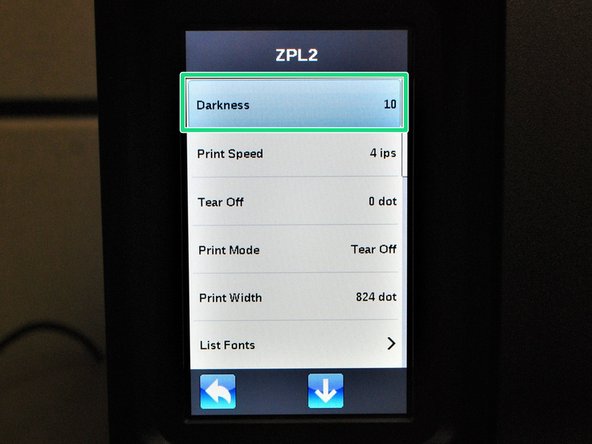
On the touch screen, select the option you would like to change, and adjust as desired.
-
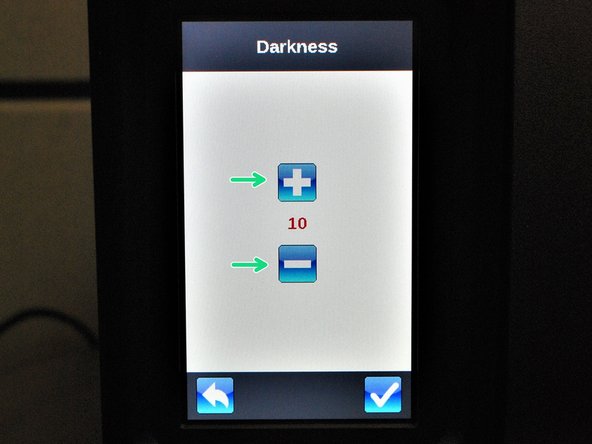
For example, if you select the "Darkness" setting, it will display a screen to increase or decrease the darkness of the print.
-