-
-
Now that the labels are loaded into the printer, you may now turn on the printer
-
DO NOT turn the printer on without the labels being loaded first. See how to load Direct Thermal labels HERE and Thermal Transfer with Ribbon HERE.
-
Click HERE to go through guide 02 - Connecting the Printer to see where to plug in the Power, USB-A, USB-B, and Ethernet if you have not already.
-
Plug the power cable into the printer then the wall , if it is not already.
-
Turn on the printer.
-
-
-
To see which cables connect where on the printer, please refer to guide 02 - Connecting the Printer, or click HERE.
-
Now that the USB-B is connected and the Printer has power, you will be able to connect to the printer in the GSS Certified Printer Tool.
-
To download the GSS Certified Printer Tool, click HERE.
-
Select "Add Printers" shown by the red box.
-
Confirm that 'USB' is selected. The drop down next to it should read 'GSS-LABEL-PTR-I.' These are both shown by the orange box. Click 'OK'
-
If the printer does not appear in the dropdown, click the "Refresh USB List" button shown by the green arrow. If it still does not appear, try turning off the printer, waiting a moment for it to fully power off, then powering it back on and repeating this step.
-
Under status, a green bulb will appear for the printer when it is online, and it will turn grey when it turns offline.
-
Under 'Interface,' it should read as USB and the USB symbol will appear to the left of it
-
-
-
To see which cables connect where on the printer, please refer to guide 02 - Connecting the Printer, or click HERE.
-
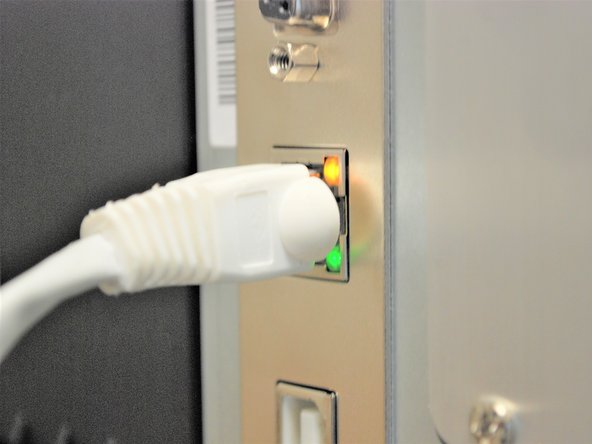
Now that the Ethernet is connected and the Printer has power, two LEDS will light up by the ethernet port.
-
The amber light will stay solid while the green light will be blinking.
-