-
-
The screen and buttons can be used to perform numerous printer functions without the use of a separate computer.
-
There is: the screen, which displays information and menus. It functions as a touch screen, for easier menu navigation.
-
The Feed button, which will make the printer advance one label, "printing" out a blank one.
-
The Menu button, which will either open up the menu list, or function as a sort of 'back' button if you are already in a menu.
-
The Pause button, which will pause or resume the current printing operation.
-
The Select button, which will select the highlighted option.
-
The Up and Down buttons, which will scroll up and down through menu lists.
-
-
-
The Home screen displays the printer's network connection;
-
The date and time;
-
EMS's logo and phone number;
-
'Menu' takes you to the larger list of menus available;
-
'Calibration' gives you an option to calibrate the printer for Gap, Black Mark, and Continuous printing;
-
'TSPL' brings up a list of adjustable settings;
-
'File Manager' will let you browse stored files on the printer;
-
The printer's model number
-
-
-
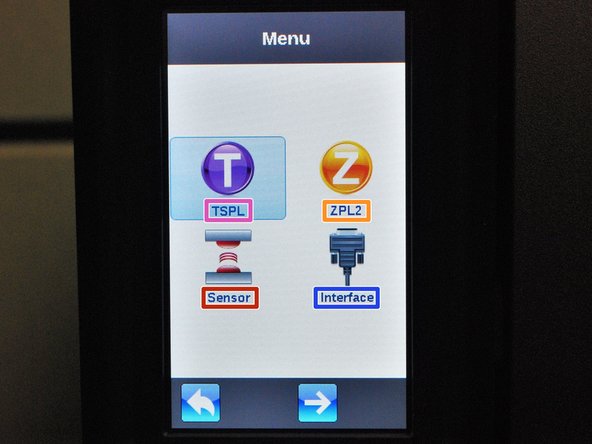
If you select the 'Menu' option from the home screen, you'll be brought to this screen.
-
You can scroll through the options with the up and down options. The digital arrow 'buttons' on the bottom of the screen will take you back to the previous screen, or show you the rest of the menu options.
-
The TSPL menu is used for configuring setting when printing with TSPL2.
-
The ZPL2 menu is used for configuring settings when printing with ZPL2.
-
The Sensor menu is used to calibrate the selected sensor. It has options for manual and automatic calibration for gap, black mark, and continuous printing.
-
The Interface menu is used o view and configure serial, ethernet, Bluetooth, or Wi-Fi connection settings.
-
-
-
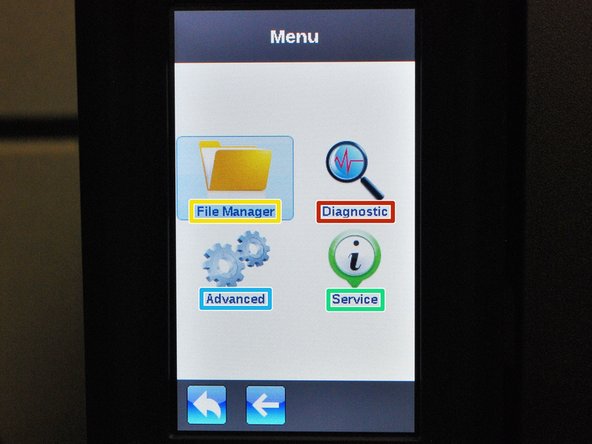
The File Manager menu is used to check the printer's available memory and file list.
-
The Diagnostic menu can be used to run a number of self-diagnostic utilities. Using the Diagnostic Tool software on a connected computer is recommended.
-
The Advanced menu is used to configure screen, date & time, cutter, language, and security settings.
-
The Service menu is used to initialize the printer and view it's information.
-