-
-
Search for printers and scanners in the taskbar search bar.
-
Confirm that the selection looks like the first picture, and hit "Open."
-
Click on the printer you set up in the previous guides.
-
In this case, I named the printer "WiFi Barcode Printer."
-
Select the "Manage" option.
-
Select the "Printer Properties" option.
-
-
-
Select the "Tools" tab at the top of the new window.
-
Click on the drop-down menu labeled "Print" in the "Printer" section.
-
Select "Generic Test" from the list of options.
-
This should print a test label, which should look like the example image.
-
If no page printed, check that the roll of labels is loaded correctly, and that the correct printing options are selected.
-
-
-
Make sure the printer is connected via USB or Ethernet before powering the printer on. To see how to connect it via USB or Ethernet click HERE and to see how to confirm it's connection, click HERE.
-
Launch the GSS Certified Printer Tool software.
-
Click Hereto download it if you have not already.
-
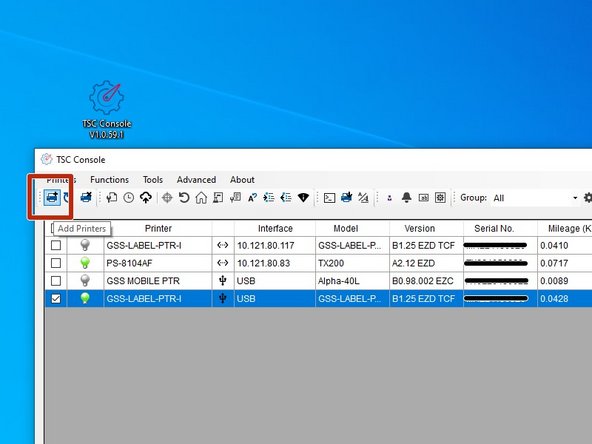
Select "Add Printers" in GSS Certified Printer Tool if your printer is not yet connected.
-
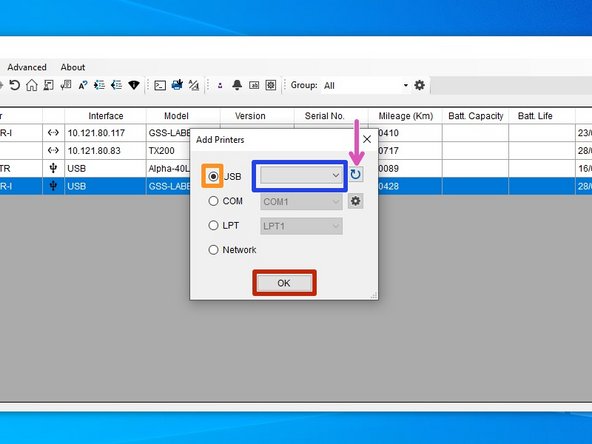
Make sure USB is selected by clicking the bullet point next to 'USB," shown by the orange box.
-
Select the drop down menu, shown by the blue box, to find and select the printer.
-
If it does not show up, try selecting the 'refresh USB list' button shown by the pink arrow. If it still does not appear, try turning off the printer, waiting a moment for it to fully power off, then powering it back on and repeating this step.
-
Select 'OK.'
-
-
-
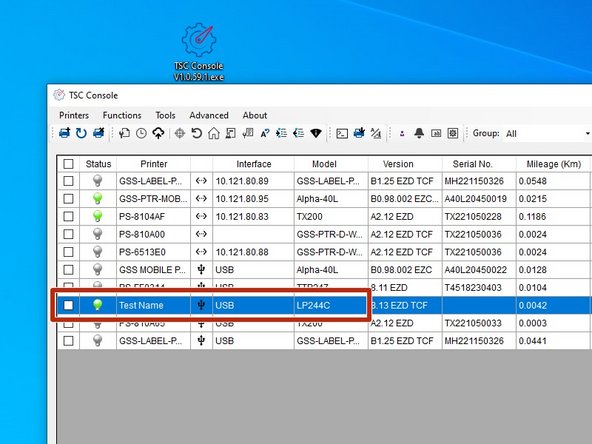
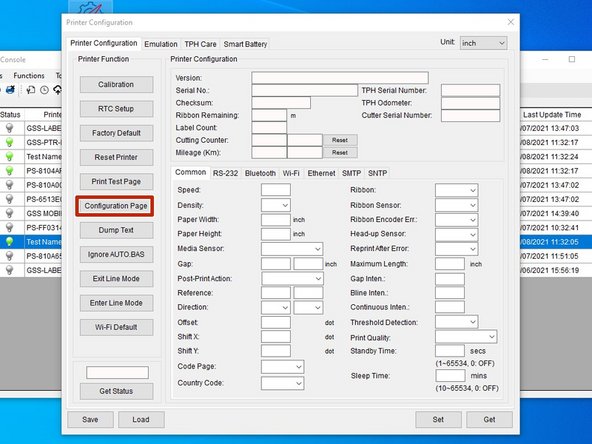
Double click the printer name, to open up the Printer Configuration Menu.
-
In the Printer Configuration Menu, select the 'Configuration Page' option under the 'Printer Function' table.
-
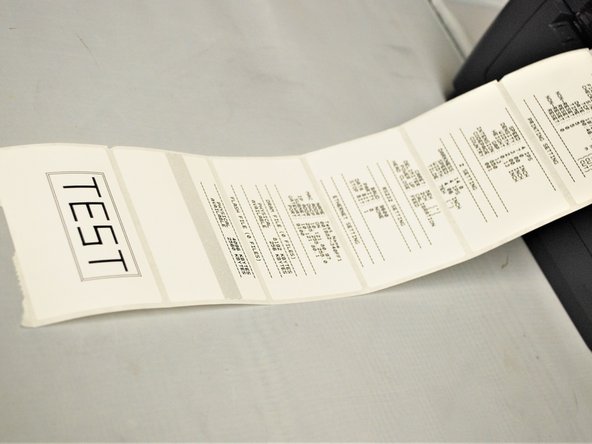
Once the printer is done printing, verify that the pages look like the example images.
-