-
-
If any time during this guide you get lost or confused, please feel free to reach out to us at EMS for Support.
-
You can book an appointment under '000 - Support,' or click HERE.
-
Service is Standard!
-
-
-
1. Ribbon rewind gear
-
2. Gap sensor (transmitter)
-
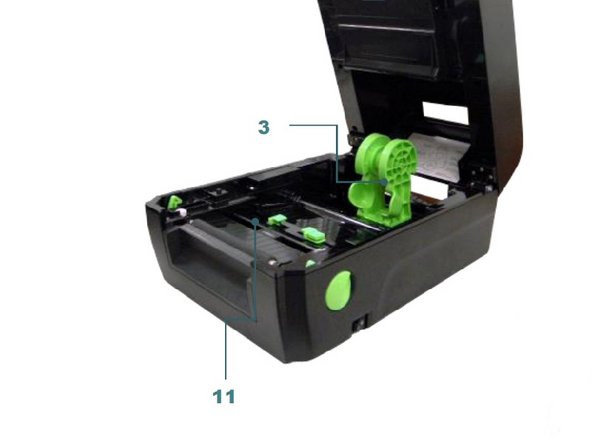
3. Media holder
-
4. Ribbon access cover
-
5. Ribbon rewind hub
-
6. Print head
-
7. Ribbon supply hub
-
8. Media cover
-
-
-
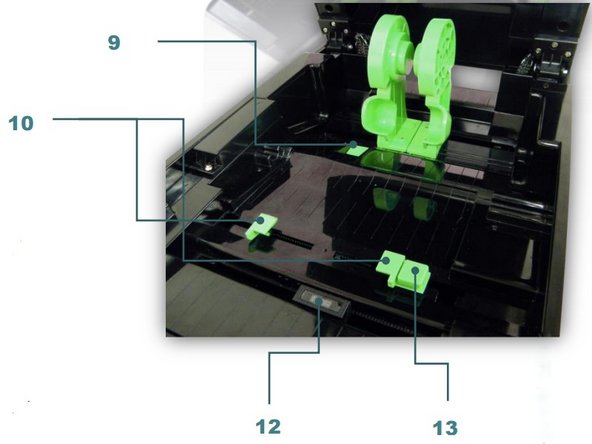
9. Media holder locking switch
-
10. Media guides
-
11. Platen roller
-
12. Black mark sensor/ Gap sensor (receiver)
-
13. Media guide adjustment button
-
-
-
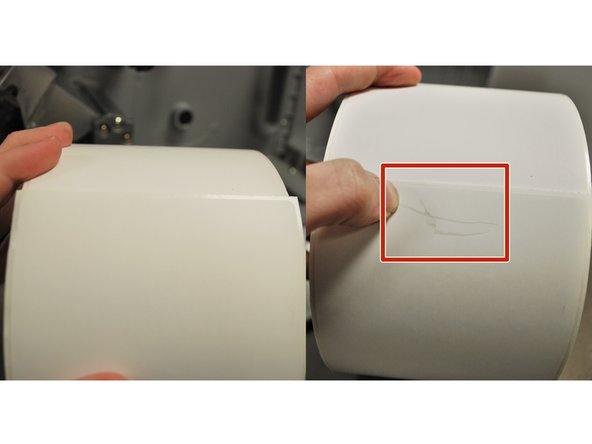
Scrape your thumbnail along your labels.
-
Thermal Transfer labels will not show a grey mark and does use ribbon. (Shown on Left)
-
Direct Thermal labels will show a grey mark and does not use ribbon. (Shown on Right)
-
If you have Direct Thermal, go to Step 5 or click HERE.
-
If you have Thermal Transfer, go to Step 7 or click HERE.
-
-
-
Make sure the printer is turned off before beginning.
-
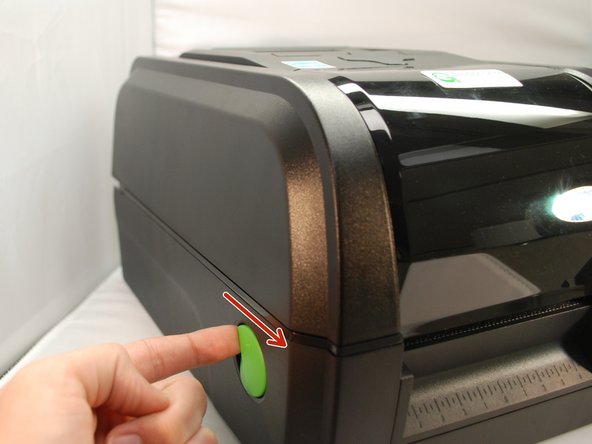
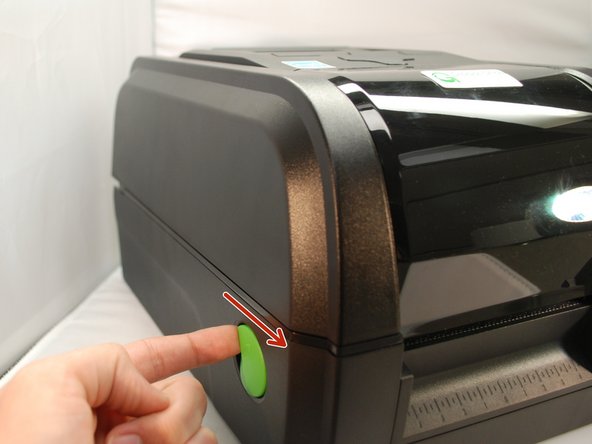
Open the printer's top cover by using a finger to pull forward (towards the front of the printer) on each of the green releases latches, located on either side of the printer. Lift the top cover until fully opened.
-
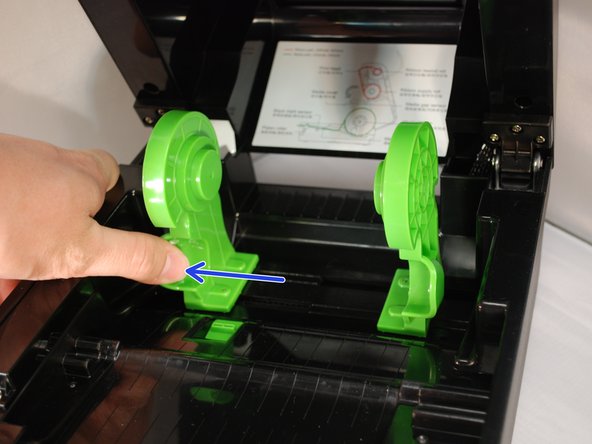
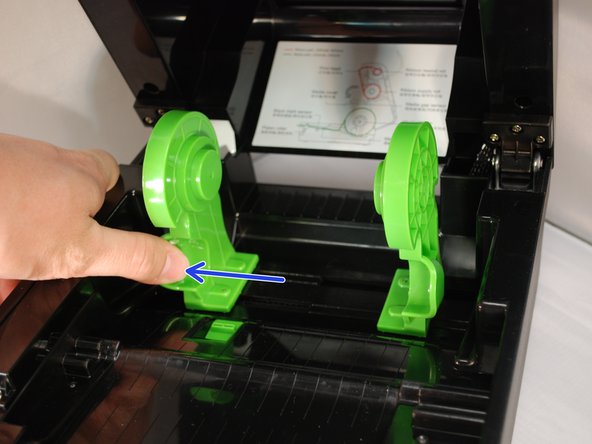
Separate and hold open the green media holders.
-
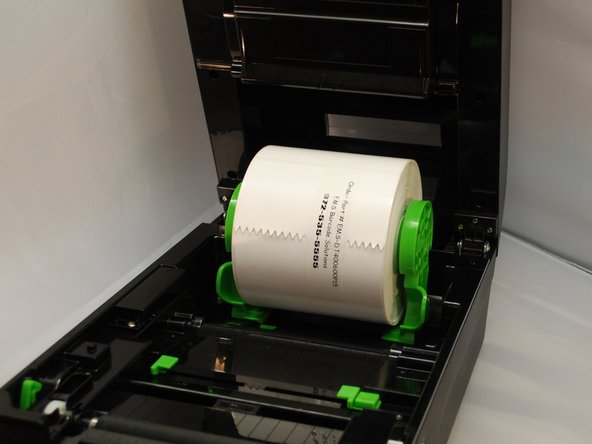
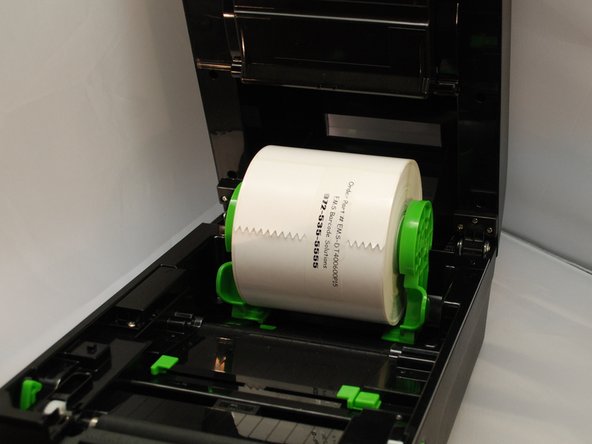
Place the roll between the holders and close them onto the core, making sure that the sheet unrolls from the top of the roll.
-
-
-
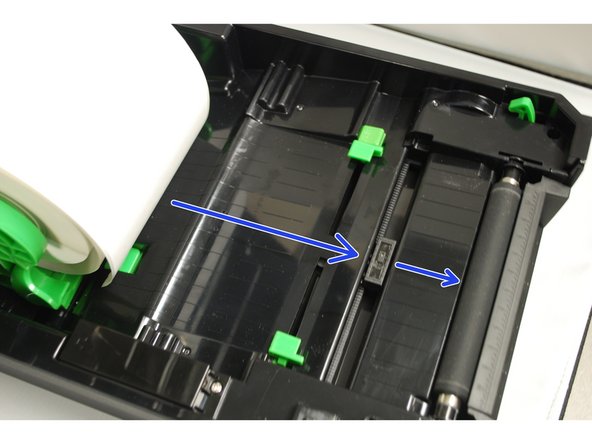
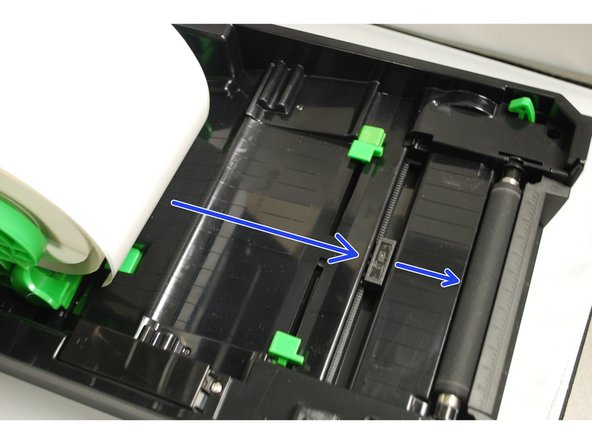
Place the paper, printing side face up, over the media sensor and place the label leading edge onto the platen roller (the rubberized roller near the the front of the printer).
-
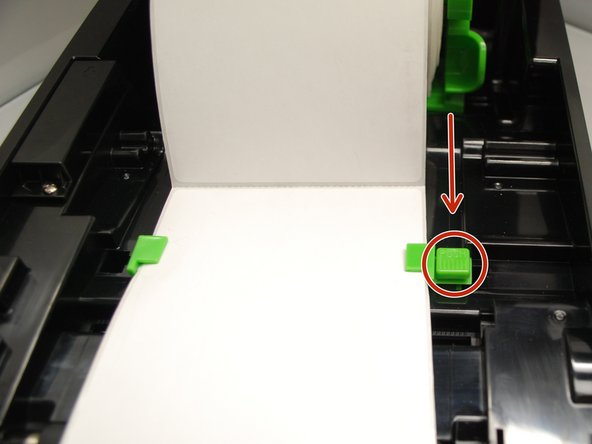
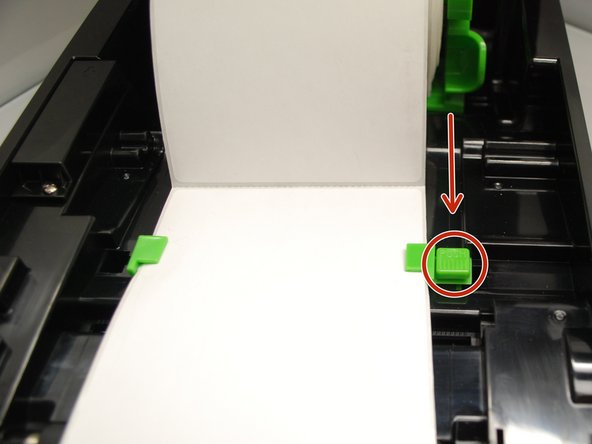
Move the media guides (the small green tabs) to fit the label width by pushing the media guide adjustment button.
-
Close the top cover gently.
-
-
-
Make sure the printer is turned off before beginning.
-
Open the printer's top cover by using a finger to pull forward (towards the front of the printer) on each of the green releases latches, located on either side of the printer. Lift the top cover until fully opened.
-
Separate and hold open the green media holders.
-
Place the roll between the holders and close them onto the core, making sure that the sheet unrolls from the top of the roll.
-
-
-
Place the paper, printing side face up, over the media sensor and place the label leading edge onto the platen roller (the rubberized roller near the the front of the printer).
-
Move the media guides (the small green tabs) to fit the label width by pushing the media guide adjustment button.
-
-
-
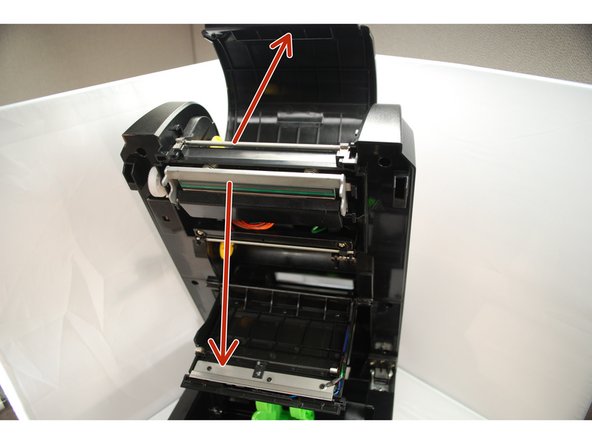
Gently lift the top cover until fully opened.
-
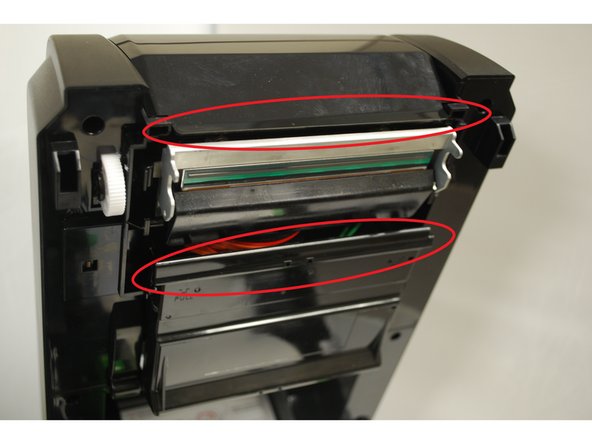
Using medium pressure, pull the top and bottom access covers open.
-
-
-
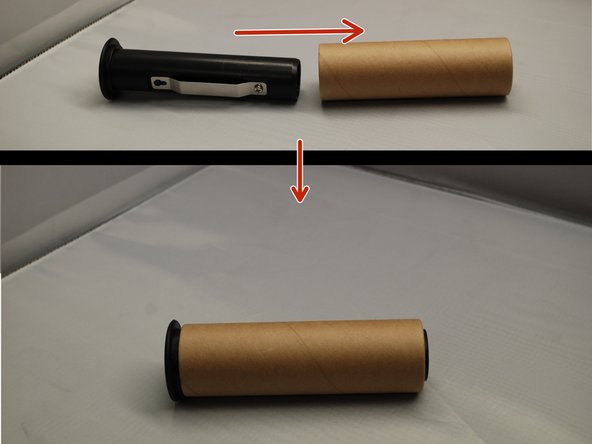
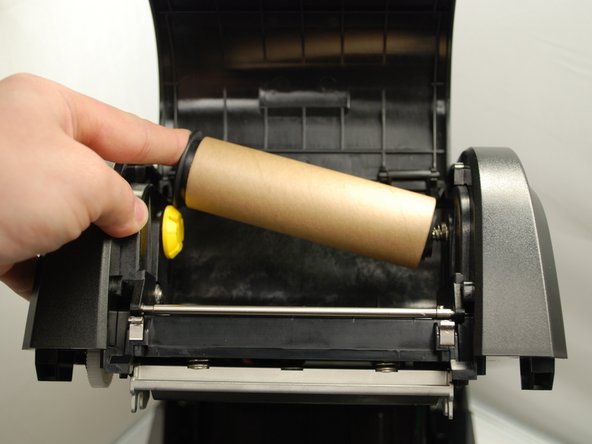
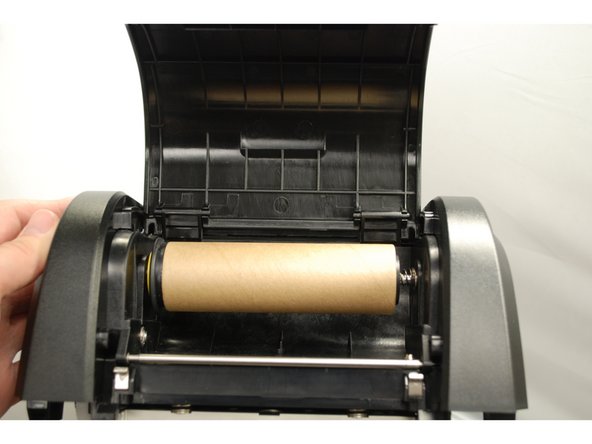
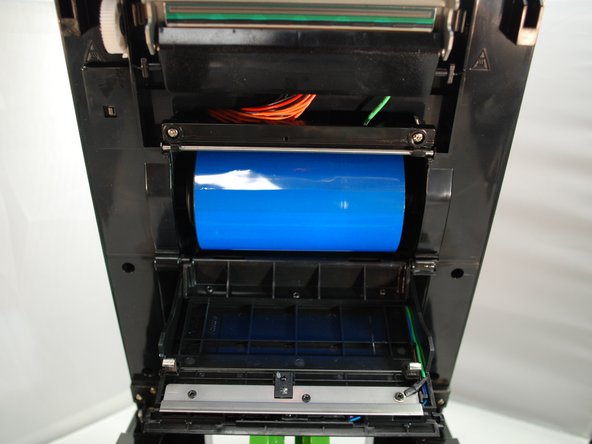
Insert the rewind spindle into the paper core (this may already be done).
-
The rewind spindle goes on the TOP spindle hub.
-
Orient the spindle such that the end with a rim is pointed to the left.
-
Place the spindle onto the spring on the right side of the opening, and then align the yellow notches on the other end of the spindle with the grooves on the hub on the left.
-
-
-
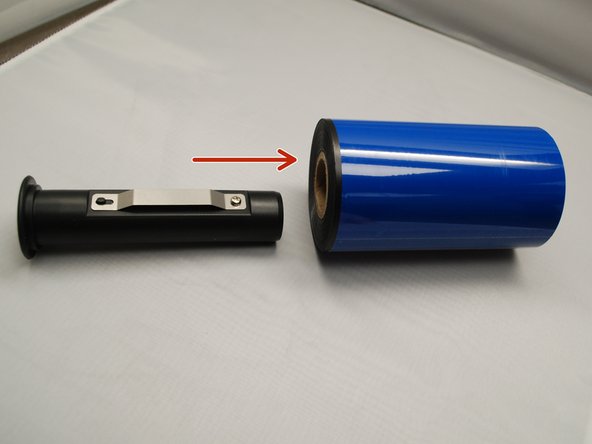
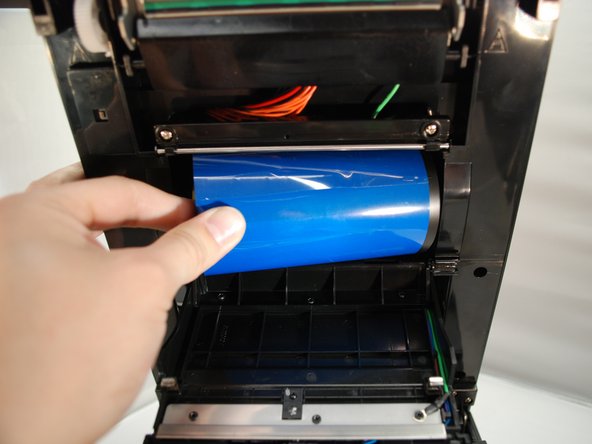
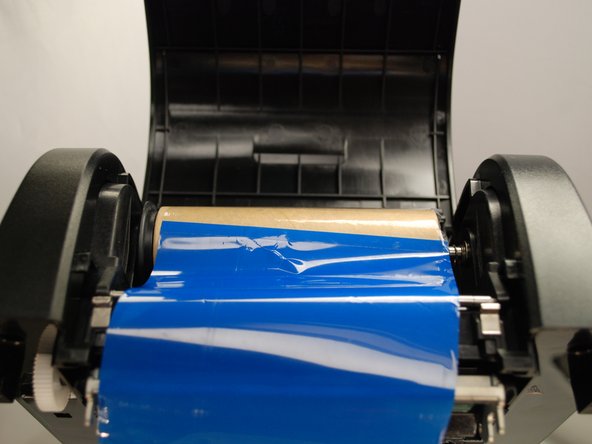
Insert the ribbon spindle into the ribbon core.
-
The ribbon spindle should be installed in the BOTTOM spindle hub.
-
The ribbon should unspool from beneath the spindle, not from above.
-
-
-
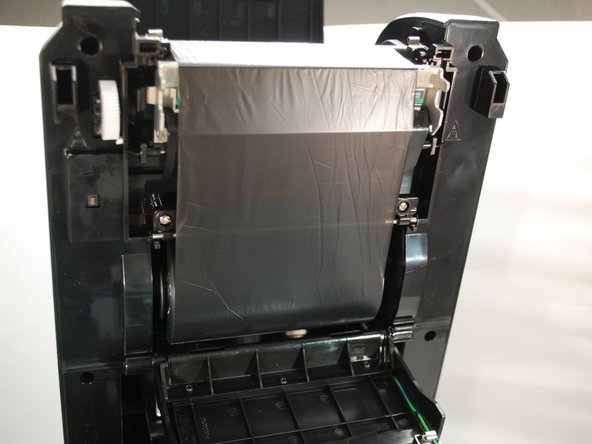
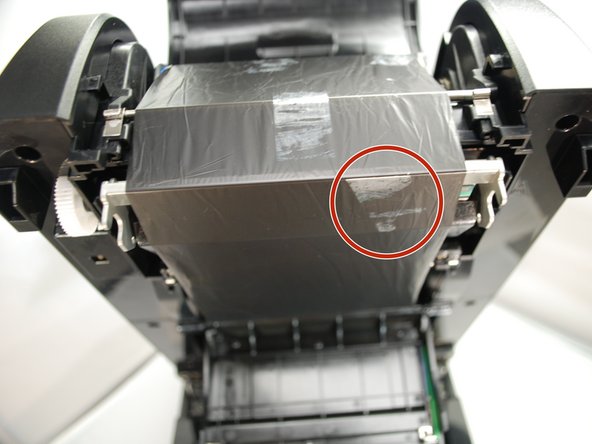
Stick ribbon onto the ribbon rewind paper core.
-
Turn the ribbon rewind gear until the ribbon plastic leader is thoroughly wound.
-
-
-
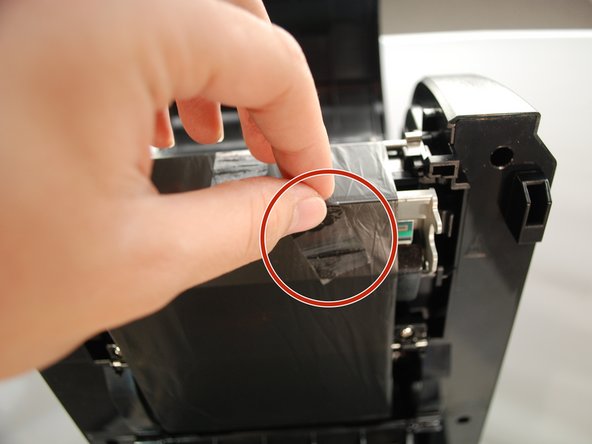
Test the orientation of the ribbon:
-
Get a piece of regular tape.
-
Put the piece of tape on the ribbon.
-
Remove the piece of tape.
-
If there is ink on the tape and ink came off the ribbon, the ribbon is facing the correct direction. If there is no ink, repeat Steps 11 & 12 with the ribbon facing the correct direction.
-
-
-
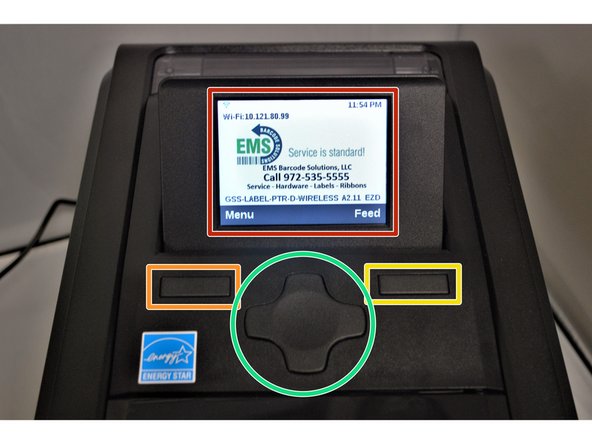
The screen and 3 buttons can be used to perform several printer functions without connecting the printer to a computer. There is:
-
The screen, which will display information and menus. At the bottom of the screen, a contextual menu will tell you what the menu and feed buttons will do on the current menu option;
-
The menu button (left), which will either open the menu from the home screen, or go back one level while navigating the menus;
-
The feed button (right), which will feed blank pages when on the home screen, or to select an option while navigating a menu.
-
And the cross button (middle), which is used to navigate the various menus by pressing the edge corresponding to the direction of the menu option you wish to select.
-
-
-
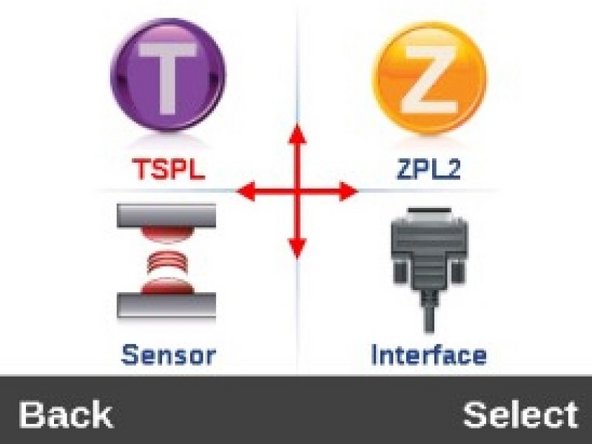
The TSPL menu is used for configuring setting when printing with TSPL2
-
The ZPL2 menu is used for configuring settings when printing with ZPL2
-
The Sensor menu is used to calibrate the selected sensor. It has options for manual and automatic calibration for gap, black mark, and continuous printing.
-
The Interface menu is used o view and configure serial, ethernet, Bluetooth, or Wi-Fi connection settings.
-
-
-
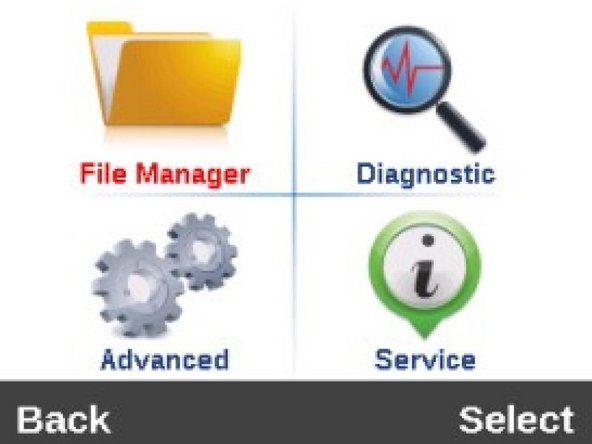
The File Manager menu is used to check the printer available memory and file list.
-
The Diagnostic menu can be used to run a number of self-diagnostic utilities. Using the Diagnostic Tool software on a connected computer is recommended.
-
The Advanced menu is used to set the LCD screen settings.
-
The Service Menu is used to initialize the printer and view it's information.
-
-
-
Before beginning, make sure the printer is turned off.
-
To release the top cover, use a finger to pull forward (towards the front of the printer) on each of the green releases latches, located on either side of the printer. Once released, gently lift the cover all the way up.
-
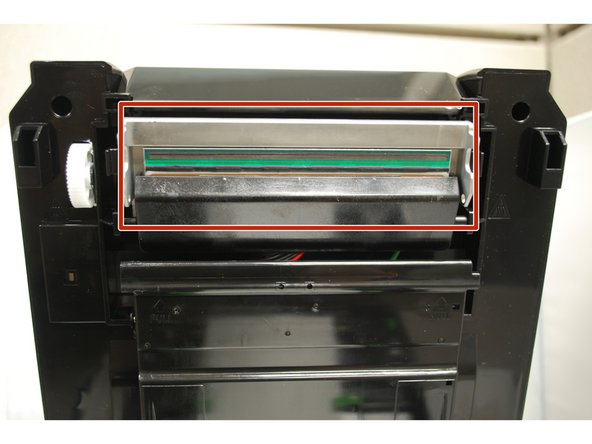
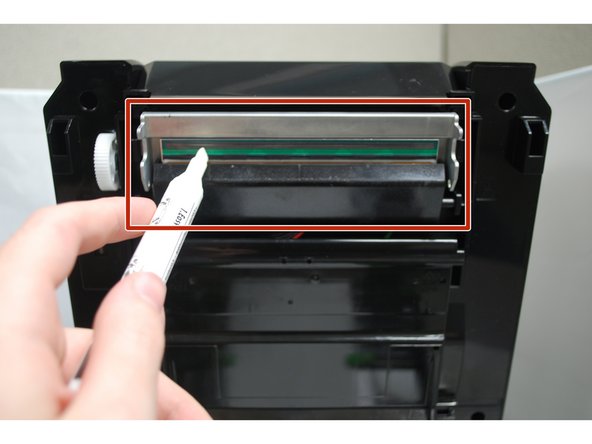
Uncap the cleaning pen and use the tip to clean the glass surface of the print head, ensuring there is no label or ribbon residue, or dust or other particulates.
-
You should do this each time you go through a roll of labels to ensure optimal print quality and performance. Doing so regularly can extend the lifespan of your printer by 2 to 3 times.
-
-
-
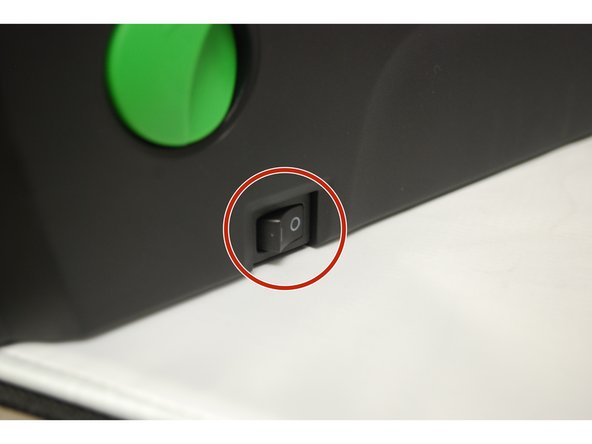
Does the printer have power?
-
Shown in Image 1. This can be shown by if the screen is displaying the menu or not and if the printer is plugged into a functioning outlet.
-
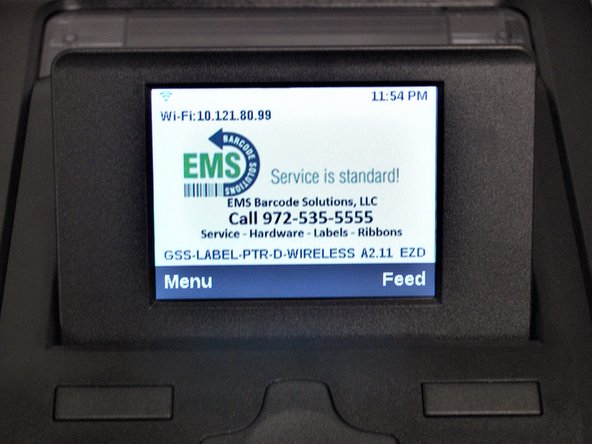
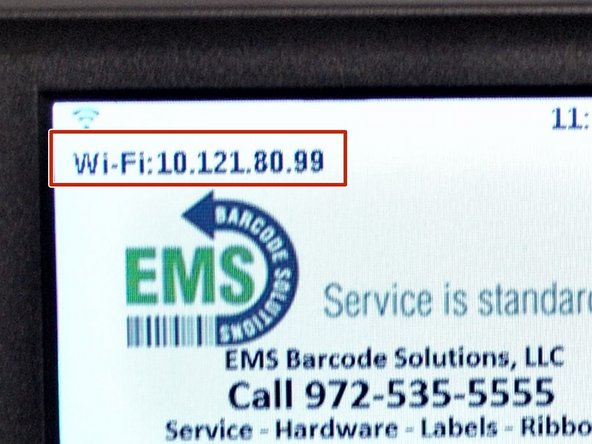
Does the printer have an IP address?
-
Shown in Image 2. This will be displayed on the home screen of the printer above the EMS image.
-
Almost done!
Finish Line


