-
-
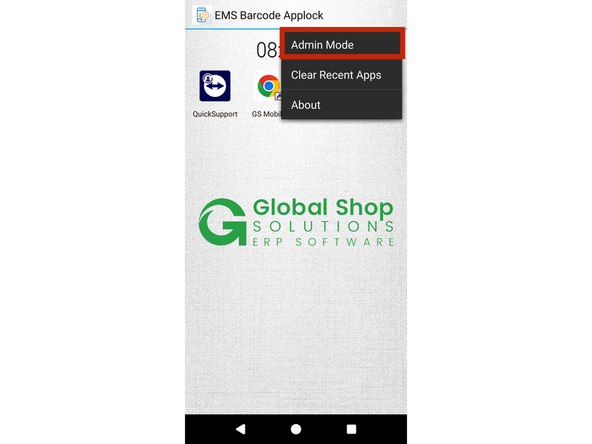
Ensure your screen matches the one shown in the first photo (red box). Then, tap the three-dot menu button (circled in red). Note: it may appear slightly faded.
-
From the dropdown menu, tap Admin Mode (outlined in the red box).
-
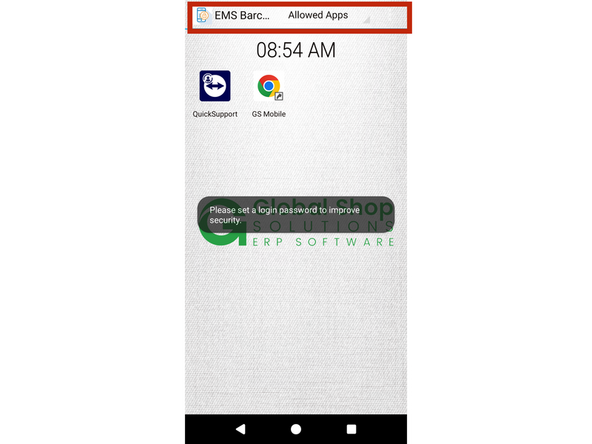
You should now be on the screen shown in the last photo. Take note of the new title, which is highlighted by the red box.
-
-
-
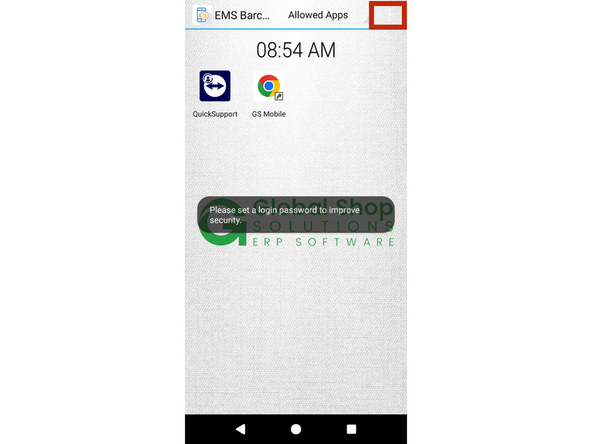
Tap the three-dot dropdown menu icon in the top-right corner, as shown in the red box in the first photo.
-
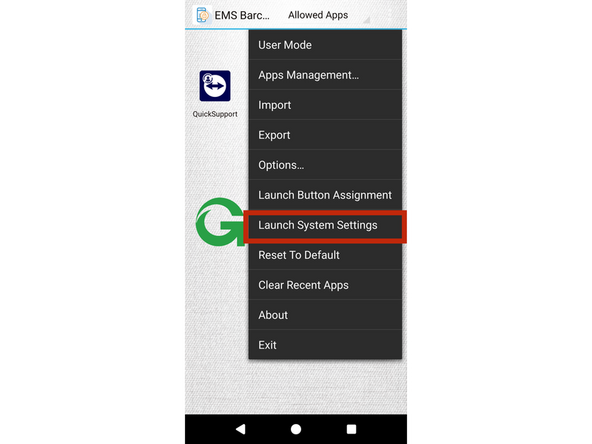
In the dropdown menu, find and tap Launch System Settings, located in the red box in photo 2, to open the settings.
-
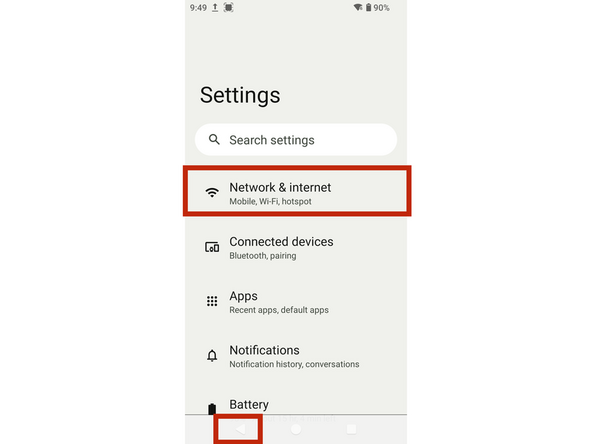
Once in the Settings menu, tap Network & Internet (highlighted in the red box) to set up Wi-Fi. Find your network from the list and log in by entering your Wi-Fi password.
-
Once Wi-Fi is connected, tap the Back button (circled in red in the bottom-left corner) 2–3 times to return to the screen shown in the first photo.
-