
-
-
Swipe up to view all your apps.
-
Scroll down to find Settings, the little gear.
-
-
-
Scroll down and select "System."
-
Select "Date and Time."
-
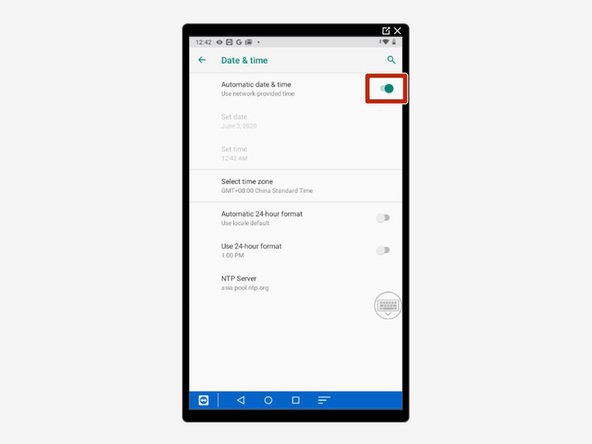
Make sure image 3 is what you see.
-
-
-
Tap on the green bar next to "Automatic Date & Time" so it turns grey.
-
If it is already grey, you do not need to do anything to it.
-
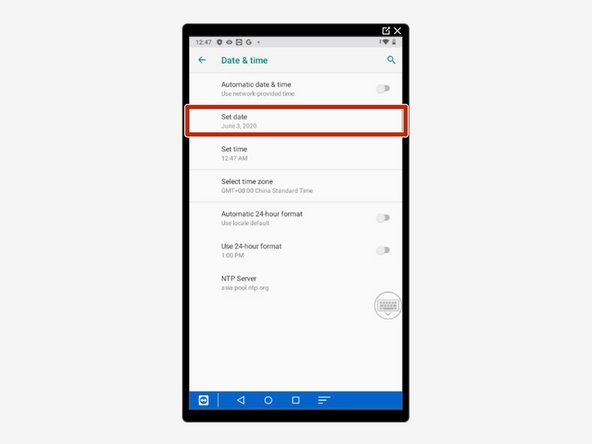
Select "Set Date."
-
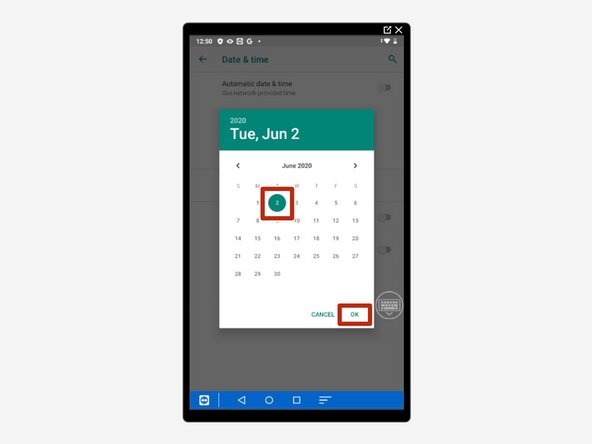
Choose the correct date (June 2nd for me) then hit "OK."
-
The small arrows to the left and right of the month change what month you are viewing.
-
-
-
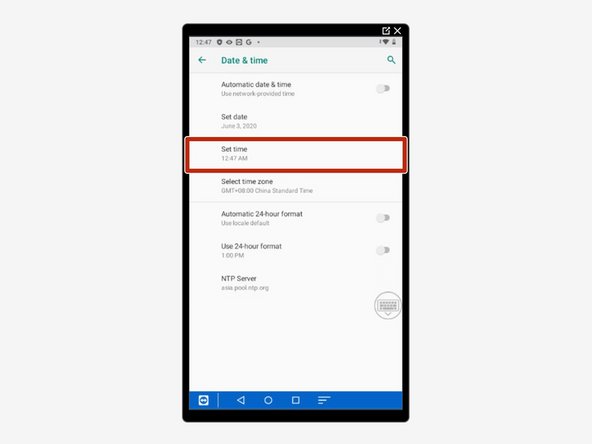
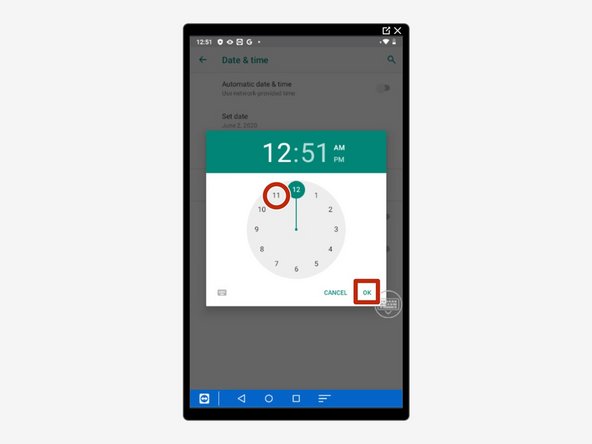
Select "Set Time."
-
Choose the correct hour for you (11 for me) then hit "OK."
-
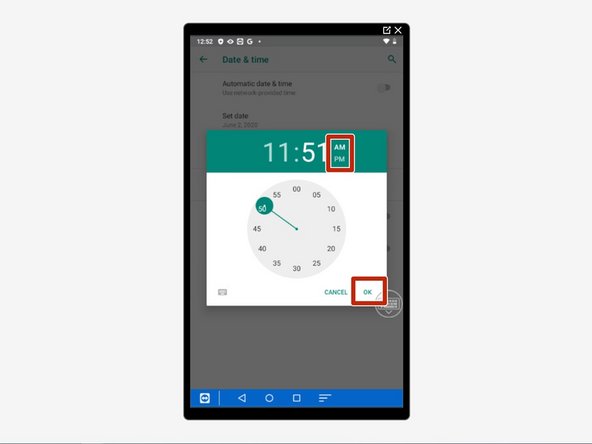
Choose the correct minute as well as AM or PM then hit "OK."
-
-
-
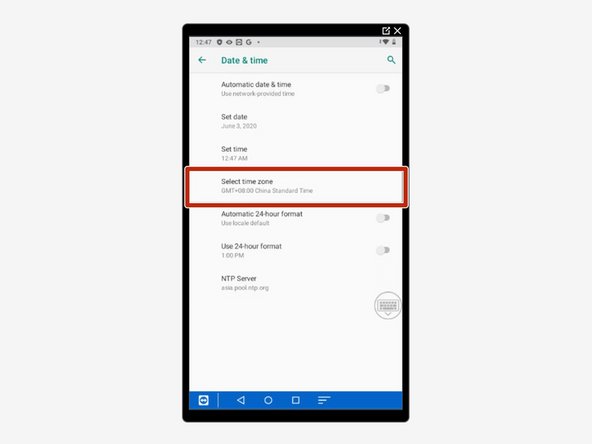
Select "Select Time Zone."
-
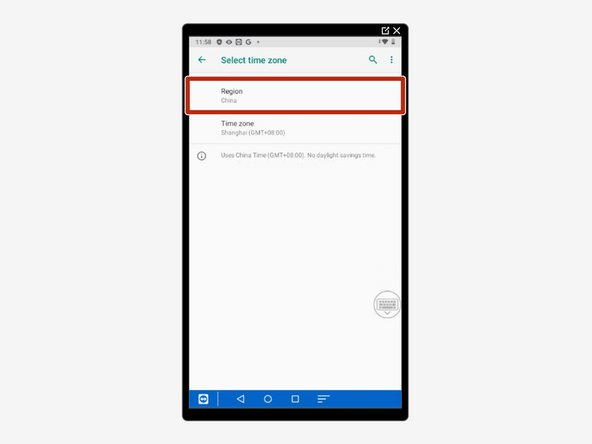
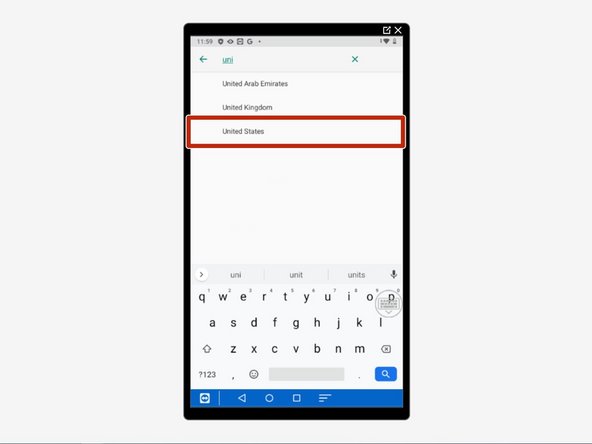
Select "Region."
-
Type in and select your region.
-
-
-
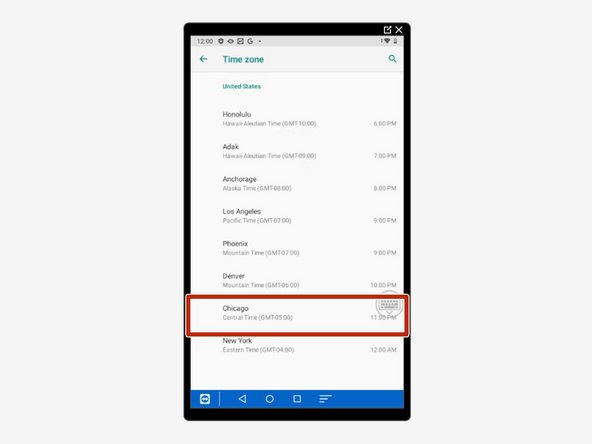
Select your time zone within your region.
-


Almost done!
Finish Line
